

Juspay Tenant User Management Guide
1. Introduction
This guide focuses on user management within the Juspay payment platform. You will learn how to:
- Create and manage users at different levels (tenant, reseller, merchant)
- Grant and manage merchant access for users
- Configure roles and permissions
- Switch between merchants
- Best practices for user administration
2. Understanding the Juspay Hierarchy
Entity and User Hierarchy
```
TENANT (Your Organization)
├── Tenant Users
│ └── Can access: All merchants, all resellers, tenant settings
│
├── Direct Merchants
│ └── Merchant Users
│ └── Can access: Their merchant only
│
└── Resellers
├── Reseller Users
│ └── Can access: Only reseller's merchants
│
└── Reseller Merchants
└── Merchant Users
└── Can access: Their merchant only
```
User Types
| User Type | Access Level | Can Create |
|-----------|--------------|------------|
| Tenant User | Tenant-wide | Merchants, Resellers, All Users
| Reseller User | Reseller-specific | Reseller Users, Merchants (under reseller), Merchant Users |
| Merchant User | Merchant-specific | Merchant Users |
Context Types
When you log in or switch entities, you operate in a specific context:
- TENANT Context: Tenant-level operations
- RESELLER Context: Reseller-level operations
- MERCHANT Context: Merchant-level operations
Your context determines what you can see and do in the system.
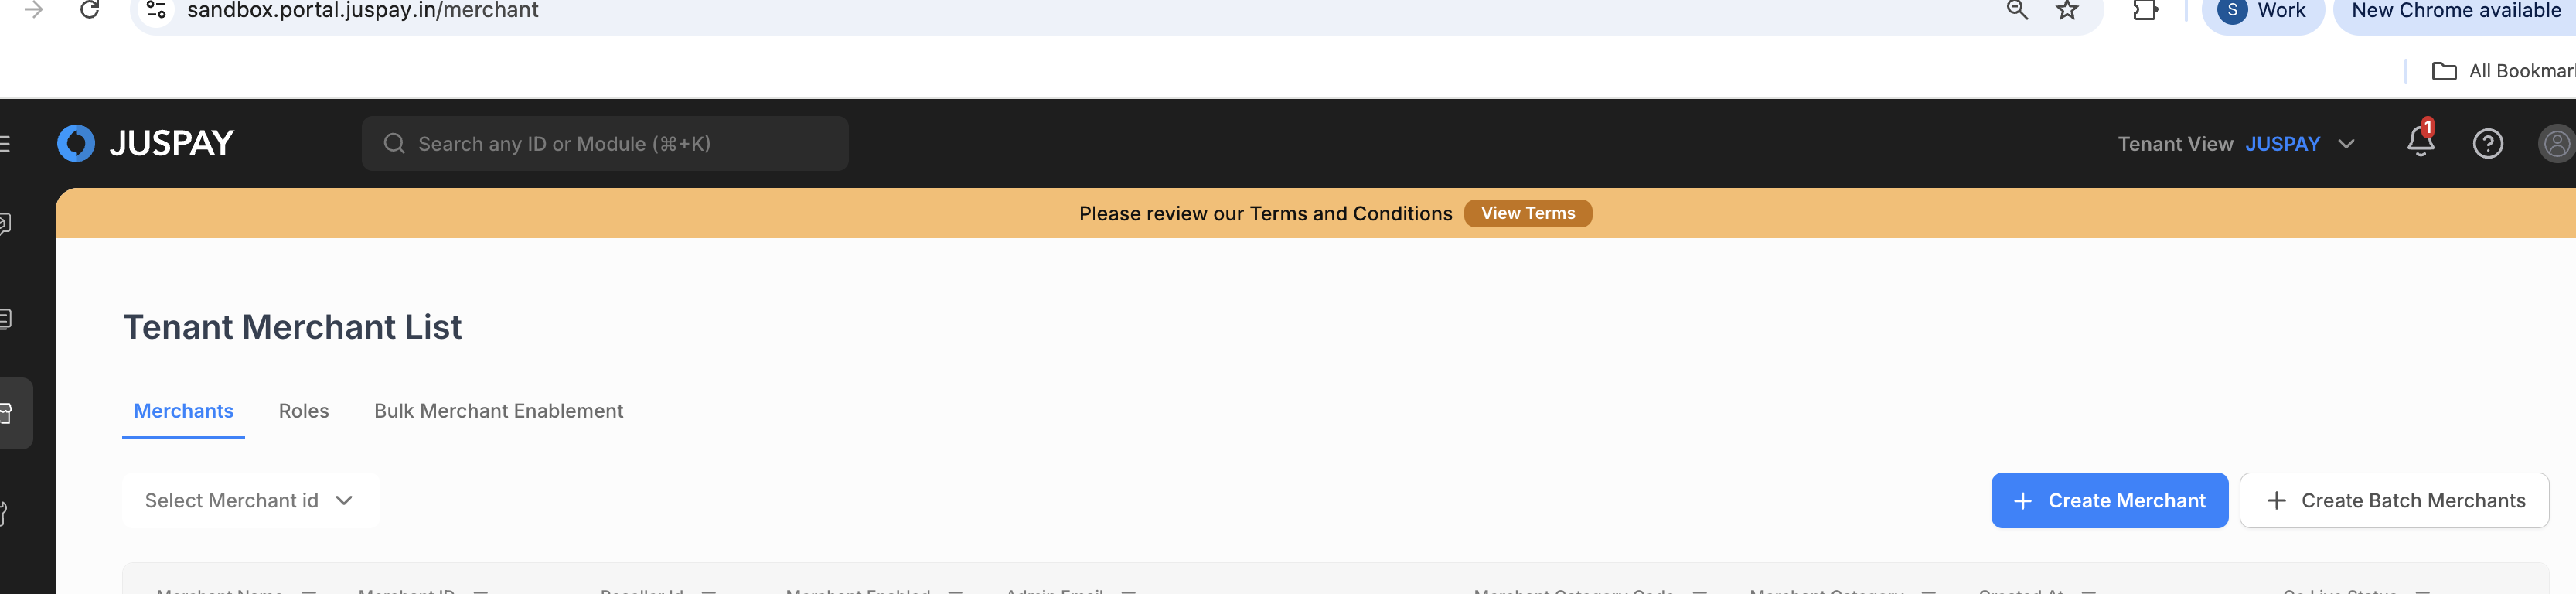
3. Creating Merchants (Overview)
> Note: This section provides a brief overview. The primary focus of this guide is user management.
As a Tenant
Tenants can create merchants with full configuration control:
1. Navigate to Merchants → Create Merchant
2. Fill in merchant details (ID, name, email, country, etc.)
3. Configure Juspay settings (2FA, merchant track, integration types, industry)
4. Set access control (initial roles/ACL for the merchant)
5. Configure client platforms and products
6. Create merchant
As a Reseller
Resellers have a simplified merchant creation flow:
1. Navigate to Merchants → Create Merchant
2. Fill in basic merchant details
3. Set access control
4. Create merchant (platform config is auto-set)
After creating a merchant, you'll need to create users for that merchant - see [Managing Merchant Users](#managing-merchant-users).
4. Creating Resellers (Overview)
> Note: Only tenant administrators or tenant users with Resellers RW can create resellers.
Basic Steps
1. Navigate to Resellers → Create Reseller
2. Enter reseller information (ID, name, email, type)
3. Configure security settings (2FA, login limits, password policies)
4. Assign payment gateways
5. Create reseller
After creating a reseller, a admin user with email mentioned in #2 is automatically created.
5. Managing Tenant Users
What are Tenant Users?
Tenant Users have the highest level of access in your organization. They can:
- Access all merchants (direct and under resellers)
- Create and manage resellers
- Create merchants
- Manage all users (tenant, reseller, merchant)
- Configure tenant-level settings
- Access consolidated analytics
Creating a Tenant User
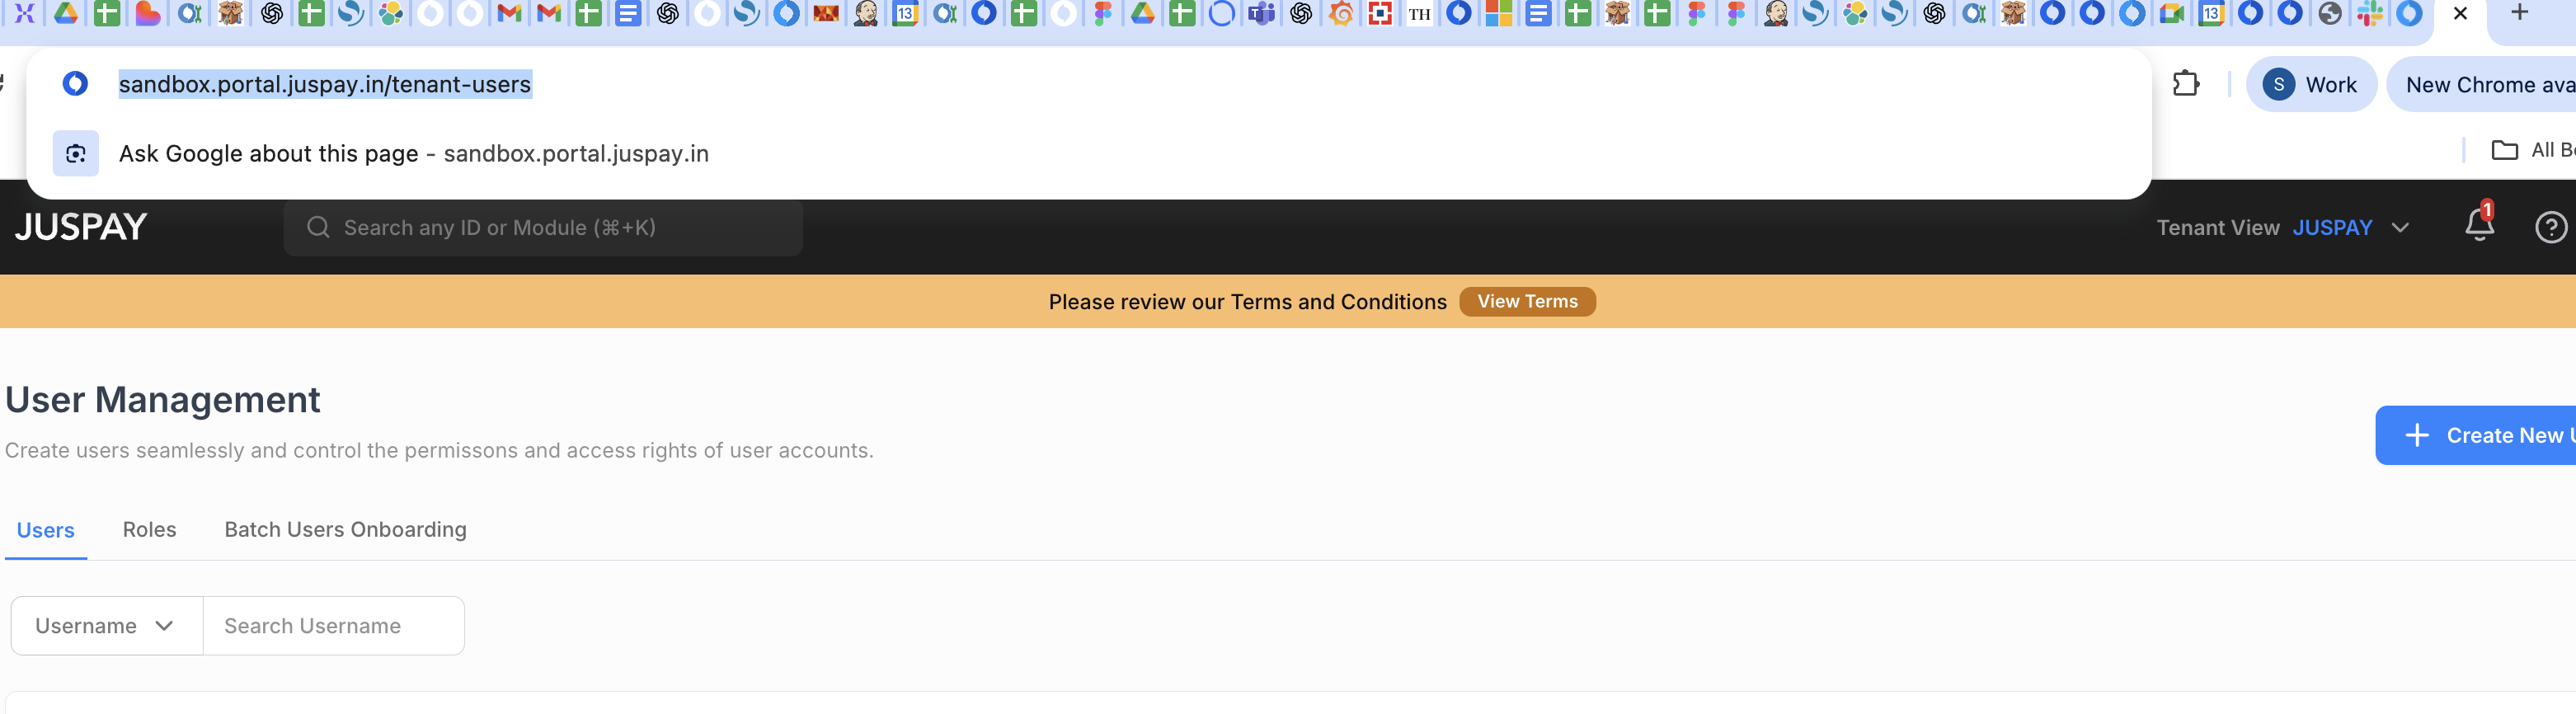
Step 1: Navigate to User Creation
- Go to Users → Create User (while in TENANT context)
Step 2: Enter User Email
Email Address: user@yourcompany.com![]()
- Enter email address
- Must be unique across the system
- Corporate email recommended
Step 3: Select Merchant Access (Optional)
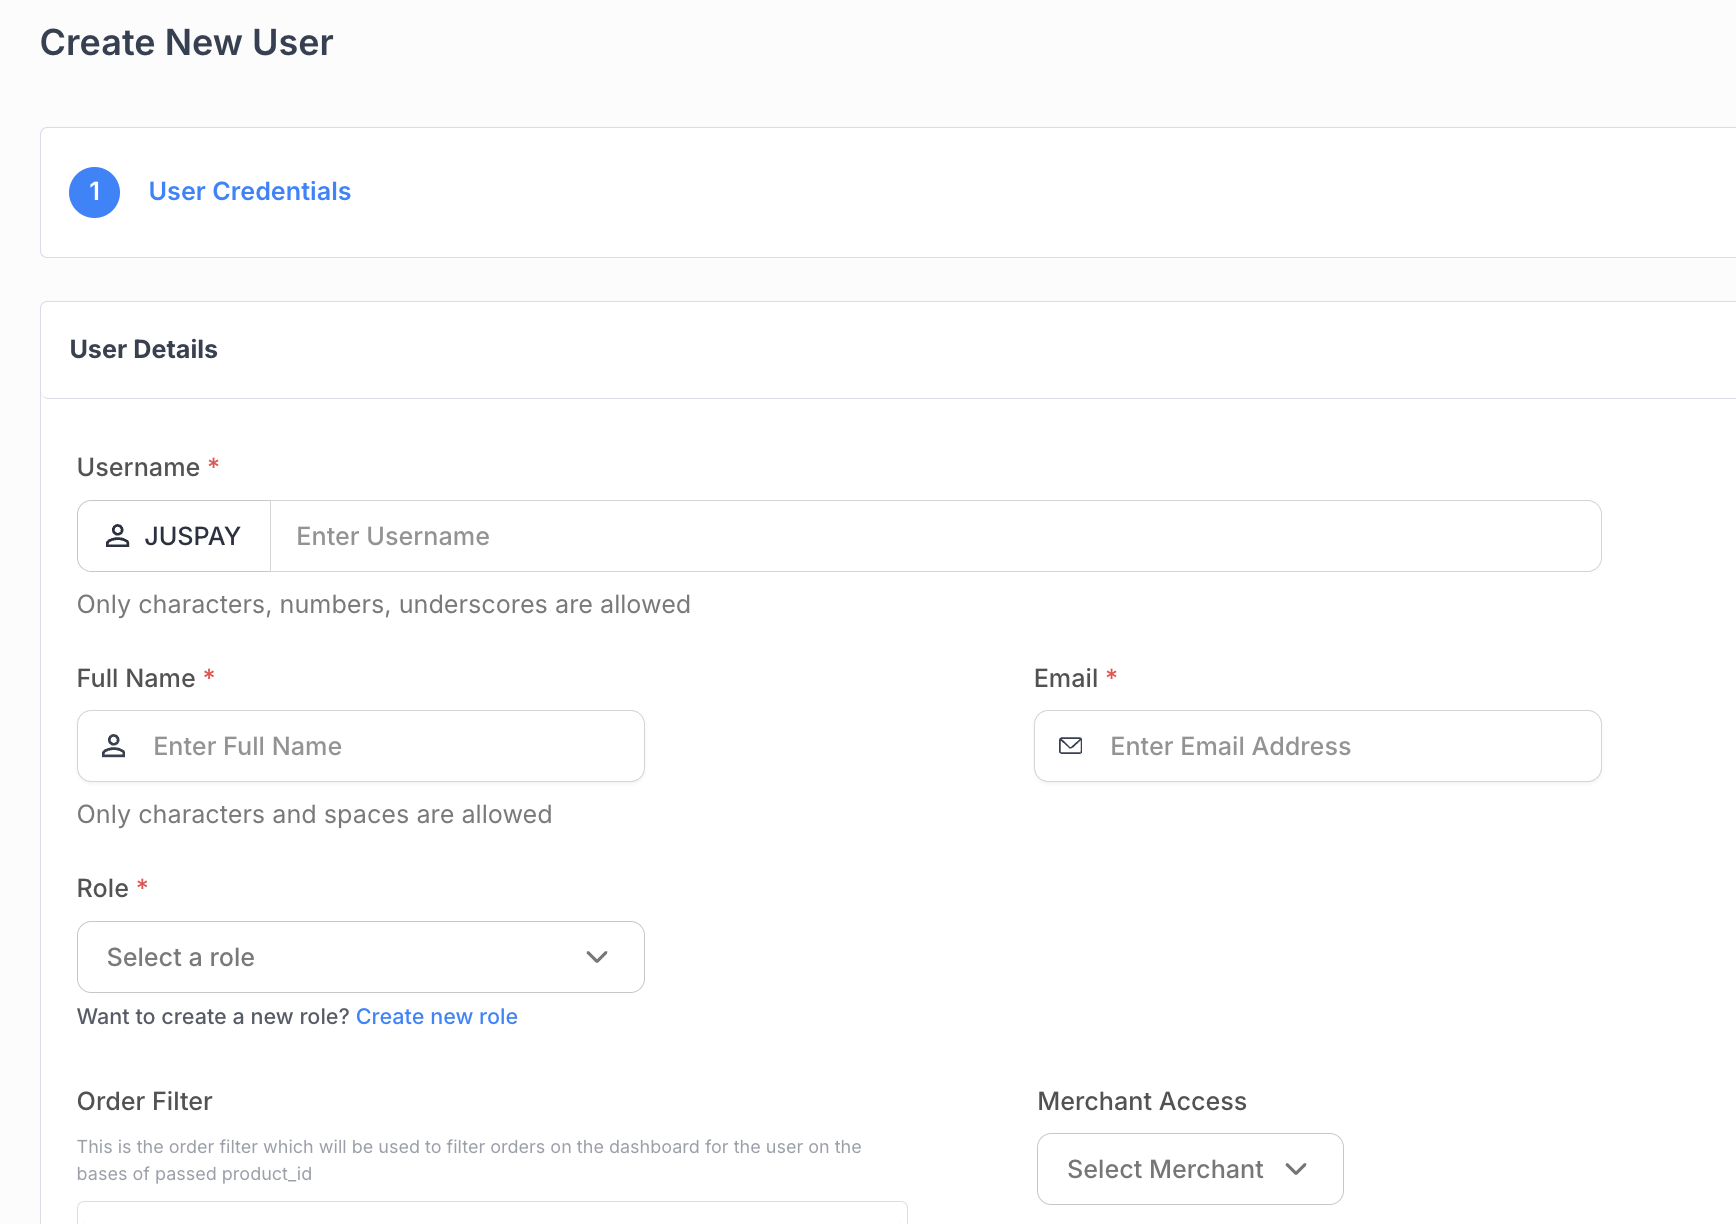
As a tenant user, you can grant access to:
- All merchants (leave empty or select all)
- Specific merchants (select from dropdown)
The Merchant Access field appears as a multi-select dropdown:
- Searchable list of all merchants
- Select one or more merchants
- User can access selected merchants only
- Can be updated later
When to restrict merchant access:
- User should only manage specific merchants
- User is responsible for particular business units
- Security requirement to limit scope
Leave empty for:
- Full tenant administrators
- Users who need access to all current and future merchants
Step 4: Assign Role
Select a tenant-level role:
- Tenant Admin
- Tenant Operations
- Tenant Finance
- Tenant Support
- Or any custom role you've created
Role automatically assigns all appropriate permissions.
Step 5: Send Invitation
- Click Create User
- User receives invitation email with setup link
- Link is valid for 24 hours (configurable)
- User must set password and configure 2FA (if required)
Tenant User Invitation Flow
1. User receives email with secure setup link
2. User clicks link → Redirected to setup page
3. User sets password:
- Must meet requirements (length, complexity)
- Cannot reuse previous passwords
4. User configures 2FA (if required):
- Authenticator app (Google Authenticator, Authy, etc.)
5. Account activated → User can log in
6. User status changes to ACTIVE
Managing Existing Tenant Users

View Tenant Users
1. Navigate to Users → List Users
Update Tenant User Email
1. Go to user details page
2. Click Update Email
3. Enter new email address
4. User must verify new email
5. Requirement: User status must be ACTIVE
Update Tenant User Role
1. Go to user details page
2. Click Update Role
3. Select new role
4. User's permissions automatically update to match new role
5. Changes take effect immediately
Update Merchant Access
See [Understanding Merchant Access](#understanding-merchant-access) section for detailed instructions.
Enable/Disable Tenant User
1. Navigate to user details
2. Toggle Enabled status
Disabled users:
- Cannot log in
- Retain all data and permissions
- Can be re-enabled anytime
Delete Tenant User
Soft Delete (Reversible):
1. Go to user details
2. Click Soft Delete
3. User status changes to SOFT_DEL
4. User cannot log in
5. Can be restored later
Hard Delete (Permanent):
1. Go to user details
2. Click Delete (requires special ACL permission)
3. Confirm action
4. User permanently removed
5. Cannot be undone
6. Managing Reseller Users
What are Reseller Users?
Reseller Users have access limited to their reseller's merchants. They can:
- Create merchants under their reseller
- Manage merchants assigned to their reseller
- Create users for their merchants
- Switch between their assigned merchants
- Cannot access tenant settings
- Cannot access other resellers' merchants
Creating a Reseller User
Step 1: Switch to Reseller Context
Using Entity Switcher:
1. Click entity switcher (usually top-right)
2. Select the reseller
3. Context switches to RESELLER
OR from Reseller Details:
1. Navigate to Resellers → List Resellers
2. Click on reseller name
3. Go to Users tab
4. Click Create User
Step 2: Enter User Email
```
Email: reselleruser@partnercompany.com![]()
- Single email address
- Must be unique
- Partner organization email recommended
```
Step 3: Assign Merchant Access [Optional or can be mandated]
The dropdown shows only merchants belonging to this reseller:
- Select specific merchants for the user
- Or select all reseller merchants for full access
Common patterns:
- Reseller Admin: Access to all reseller merchants
- Reseller Support: Access to all or subset of merchants
- Reseller Account Manager: Access to specific merchant portfolio
Step 4: Assign Role or Configure ACL
Select from available reseller roles:
- Reseller Admin
- Reseller Operations
- Reseller Support
- Reseller Analyst
- Or any custom reseller role
Roles are pre-configured with appropriate permissions for reseller context.
Step 5: Create User
- Click Create User
- User receives invitation email
- User completes setup (password, 2FA)
- User can access reseller dashboard
Managing Existing Reseller Users
View Reseller Users
Method 1: From Reseller Context
1. Switch to reseller context
2. Navigate to Users → List Users
3. See all users with access to this reseller
Method 2: From Reseller Details
1. Go to Resellers → List Resellers
2. Click on reseller name
3. Click Users tab
Update Reseller User Merchant Access
1. Go to reseller user details
2. Click Update Merchant Access (or Change Merchant Access)
3. Modal opens showing:
- Current list of accessible merchants (searchable table)
- Multi-select dropdown to modify access
4. Add or remove merchants
5. Click Update Merchant Access
Validation:
- Cannot update own merchant access
- User must be ACTIVE status
- Must actually change access (not same as before)
- Can only assign merchants within the reseller
See [Understanding Merchant Access](#understanding-merchant-access) for more details.
Update Reseller User Role/Permissions
Same process as tenant users:
- Update role
- Changes take effect immediately
Enable/Disable Reseller User
Same as tenant users - toggle enabled status.
Delete Reseller User
Same as tenant users - soft delete or hard delete.
7. Managing Merchant Users
What are Merchant Users?
Merchant Users have access limited to their specific merchant(s). They can:
- View and manage transactions for their merchant
- Process refunds (if permitted)
- Access merchant analytics
- Configure merchant settings (if permitted)
- Cannot access other merchants
- Cannot access tenant or reseller settings
Creating a Merchant User
Step 1: Switch to Merchant Context
Option A: Using Entity Switcher
1. Click entity switcher
2. Select the merchant
3. Dashboard switches to MERCHANT context
Option B: From Merchant Details
1. Navigate to Merchants → List Merchants
2. Click on merchant name
3. Go to Users tab
4. Click Create User or Add User
Step 2: Enter User Email
```
Email: merchantuser@merchantcompany.com![]()
- Single email address
- Must be unique
- Merchant team member email
```
Step 3: Assign Role or Configure ACL
Select a merchant-appropriate role:
- Merchant Admin: Full merchant management
- Merchant Operations: Day-to-day operations
- Merchant Finance: Financial reporting and analytics
- Merchant Support: Customer support operations
- Merchant Analyst: Analytics access only
Step 4: Create User
- Click Create User
- User receives invitation email
- User completes setup
- User can access merchant dashboard
Managing Existing Merchant Users
View Merchant Users
Method 1: From Merchant Details
1. Navigate to merchant details
2. Click Users tab
3. View all users with access to this merchant
Method 2: From User List (with Filter)
1. Navigate to Users → List Users
Update Merchant User
Same process as other user types:
- Update email
- Update role
- Enable/disable
- Delete
8. Understanding Merchant Access
What is Merchant Access?
Merchant Access is a multi-merchant authorization system that allows users to access multiple merchants. Each user has a merchantsAccess field containing an array of merchant IDs they can access.
How Merchant Access Works
For Tenant Users
- Default: Can access ALL merchants under the tenant
- Restricted: Can be limited to specific merchants via merchant access
- Scope: Can see direct merchants and reseller merchants
Example:
- User A: merchantsAccess = [] → Access to all merchants (implicit)
- User B: merchantsAccess = ["merchant_1", "merchant_2"] → Only these two merchants
For Reseller Users
- Default: Can ONLY access merchants assigned to their reseller
- Restricted: Can be limited to specific merchants via merchant access
- Cannot: Access other resellers' merchants or tenant settings
Example:
- Reseller has 50 merchants
- Admin user: Access to all 50 merchants under the Reseller
- Support user: Access to 10 specific merchants
For Merchant Users
- Default: Single merchant access (their own merchant)
-Cannot: Can’t be granted access to multiple merchants
Granting Merchant Access
During User Creation
1. When creating a user (especially for tenant/reseller)
2. Look for Merchant Access field
3. Multi-select dropdown appears
4. Select one or more merchants
5. User gets access to all selected merchants
Field appearance:
- Searchable dropdown
- Shows merchant IDs and names
- Multi-select supported
- Only shows merchants within user's scope (tenant: all, reseller: reseller's only)
Updating Merchant Access
Step 1: Navigate to User Details
Go to the user's detail page.
Step 2: Click "Update Merchant Access"
Button appears for tenant and reseller users (not for merchant users in merchant context).
Step 3: Update Merchant Access Modal Opens
The modal shows:
Current Merchant Access Table:
- Searchable list of currently accessible merchants
- Displays merchant IDs
- Shows serial numbers
- Pagination (5 merchants per page)
- Empty state if no access: "No accessible merchants is present"
Merchant Selection Dropdown:
- Multi-select dropdown
- Add or remove merchants
- Searchable
- Only shows merchants within scope
Step 4: Modify Access
- Use dropdown to add new merchants
- Remove merchants from selection to revoke access
- Search for specific merchants
Step 5: Save Changes
Click Update Merchant Access
Validation:
- ✗ Cannot update your own merchant access
- ✗ User must be in ACTIVE status
- ✗ Must actually change access (not same as before)
- ✓ Must select at least one merchant (if configured as mandatory)
Switching Between Merchants
Users with access to multiple merchants can switch between them:
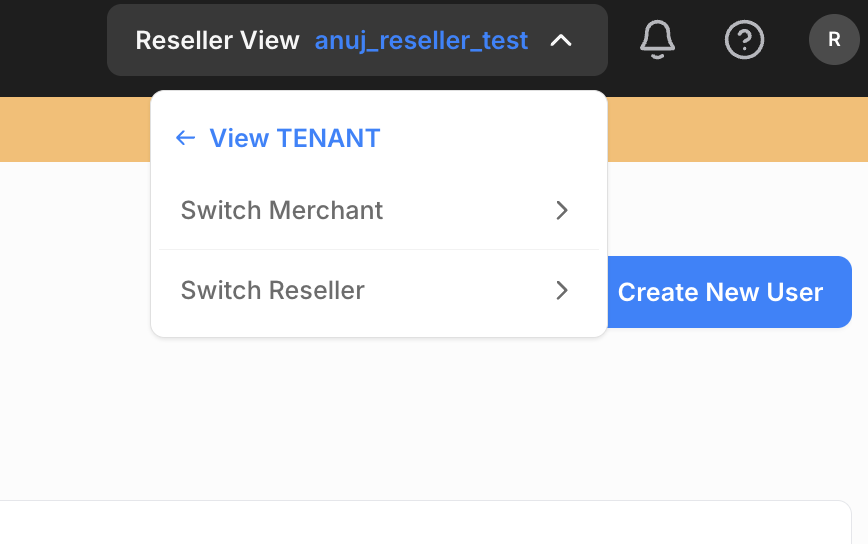
Using the Entity Switcher
Step 1: Locate Entity Switcher
Usually in the top-right of the navigation bar or header.
Step 2: Click Entity Switcher
Shows current view and entity:
- "Merchant View" with merchant ID
- "Reseller View" with reseller ID
- "Tenant View" with tenant name
Step 3: Select Merchant
Dropdown shows list of accessible merchants:
- Merchant IDs
- Merchant names (if available)
Step 4: Switch Occurs
- System calls switch API
- New token generated with merchant context
- Page redirects to merchant dashboard
- Success notification: "Switched to MERCHANT Successfully!"
- User now sees data for selected merchant only
Merchant Access Restrictions
| Who | Can Update | Restrictions |
|-----|------------|--------------|
| Self | ✗ No | Cannot update own merchant access |
| Tenant Admin | ✓ Yes | Can update any user's access to tenant merchants |
| Reseller Admin | ✓ Yes | Can update reseller users' access to reseller merchants only |
| Merchant Admin | ✗ No | Typically cannot update merchant access (no button in merchant context) |
Required ACL:
- Tenant context: tenants: ReadWrite
- Reseller context: resellers: ReadWrite
Common Scenarios
Scenario 1: Tenant Support Agent Across All Merchants
Requirement: Support agent needs to help customers across all merchants.
Setup:
1. Create user in TENANT context
2. Assign "Tenant Support" role
3. Leave merchant access empty OR select all merchants
4. User can switch between any merchant to view orders, process refunds
Scenario 2: Reseller Manager for Specific Portfolio
Requirement: Reseller has 100 merchants, manager handles 20.
Setup:
1. Create user in RESELLER context
2. Assign "Reseller Operations" role
3. Select only the 20 specific merchants in merchant access
4. User can only switch between those 20 merchants
9. Roles and Permissions
Understanding Roles
Roles are predefined permission sets that simplify user management.
Benefits:
- Consistency: Same permissions for all users with the role
- Easy Management: Assign role instead of configuring individual permissions
- Scalability: Update role once to affect all users
- Maintainability: Central permission management
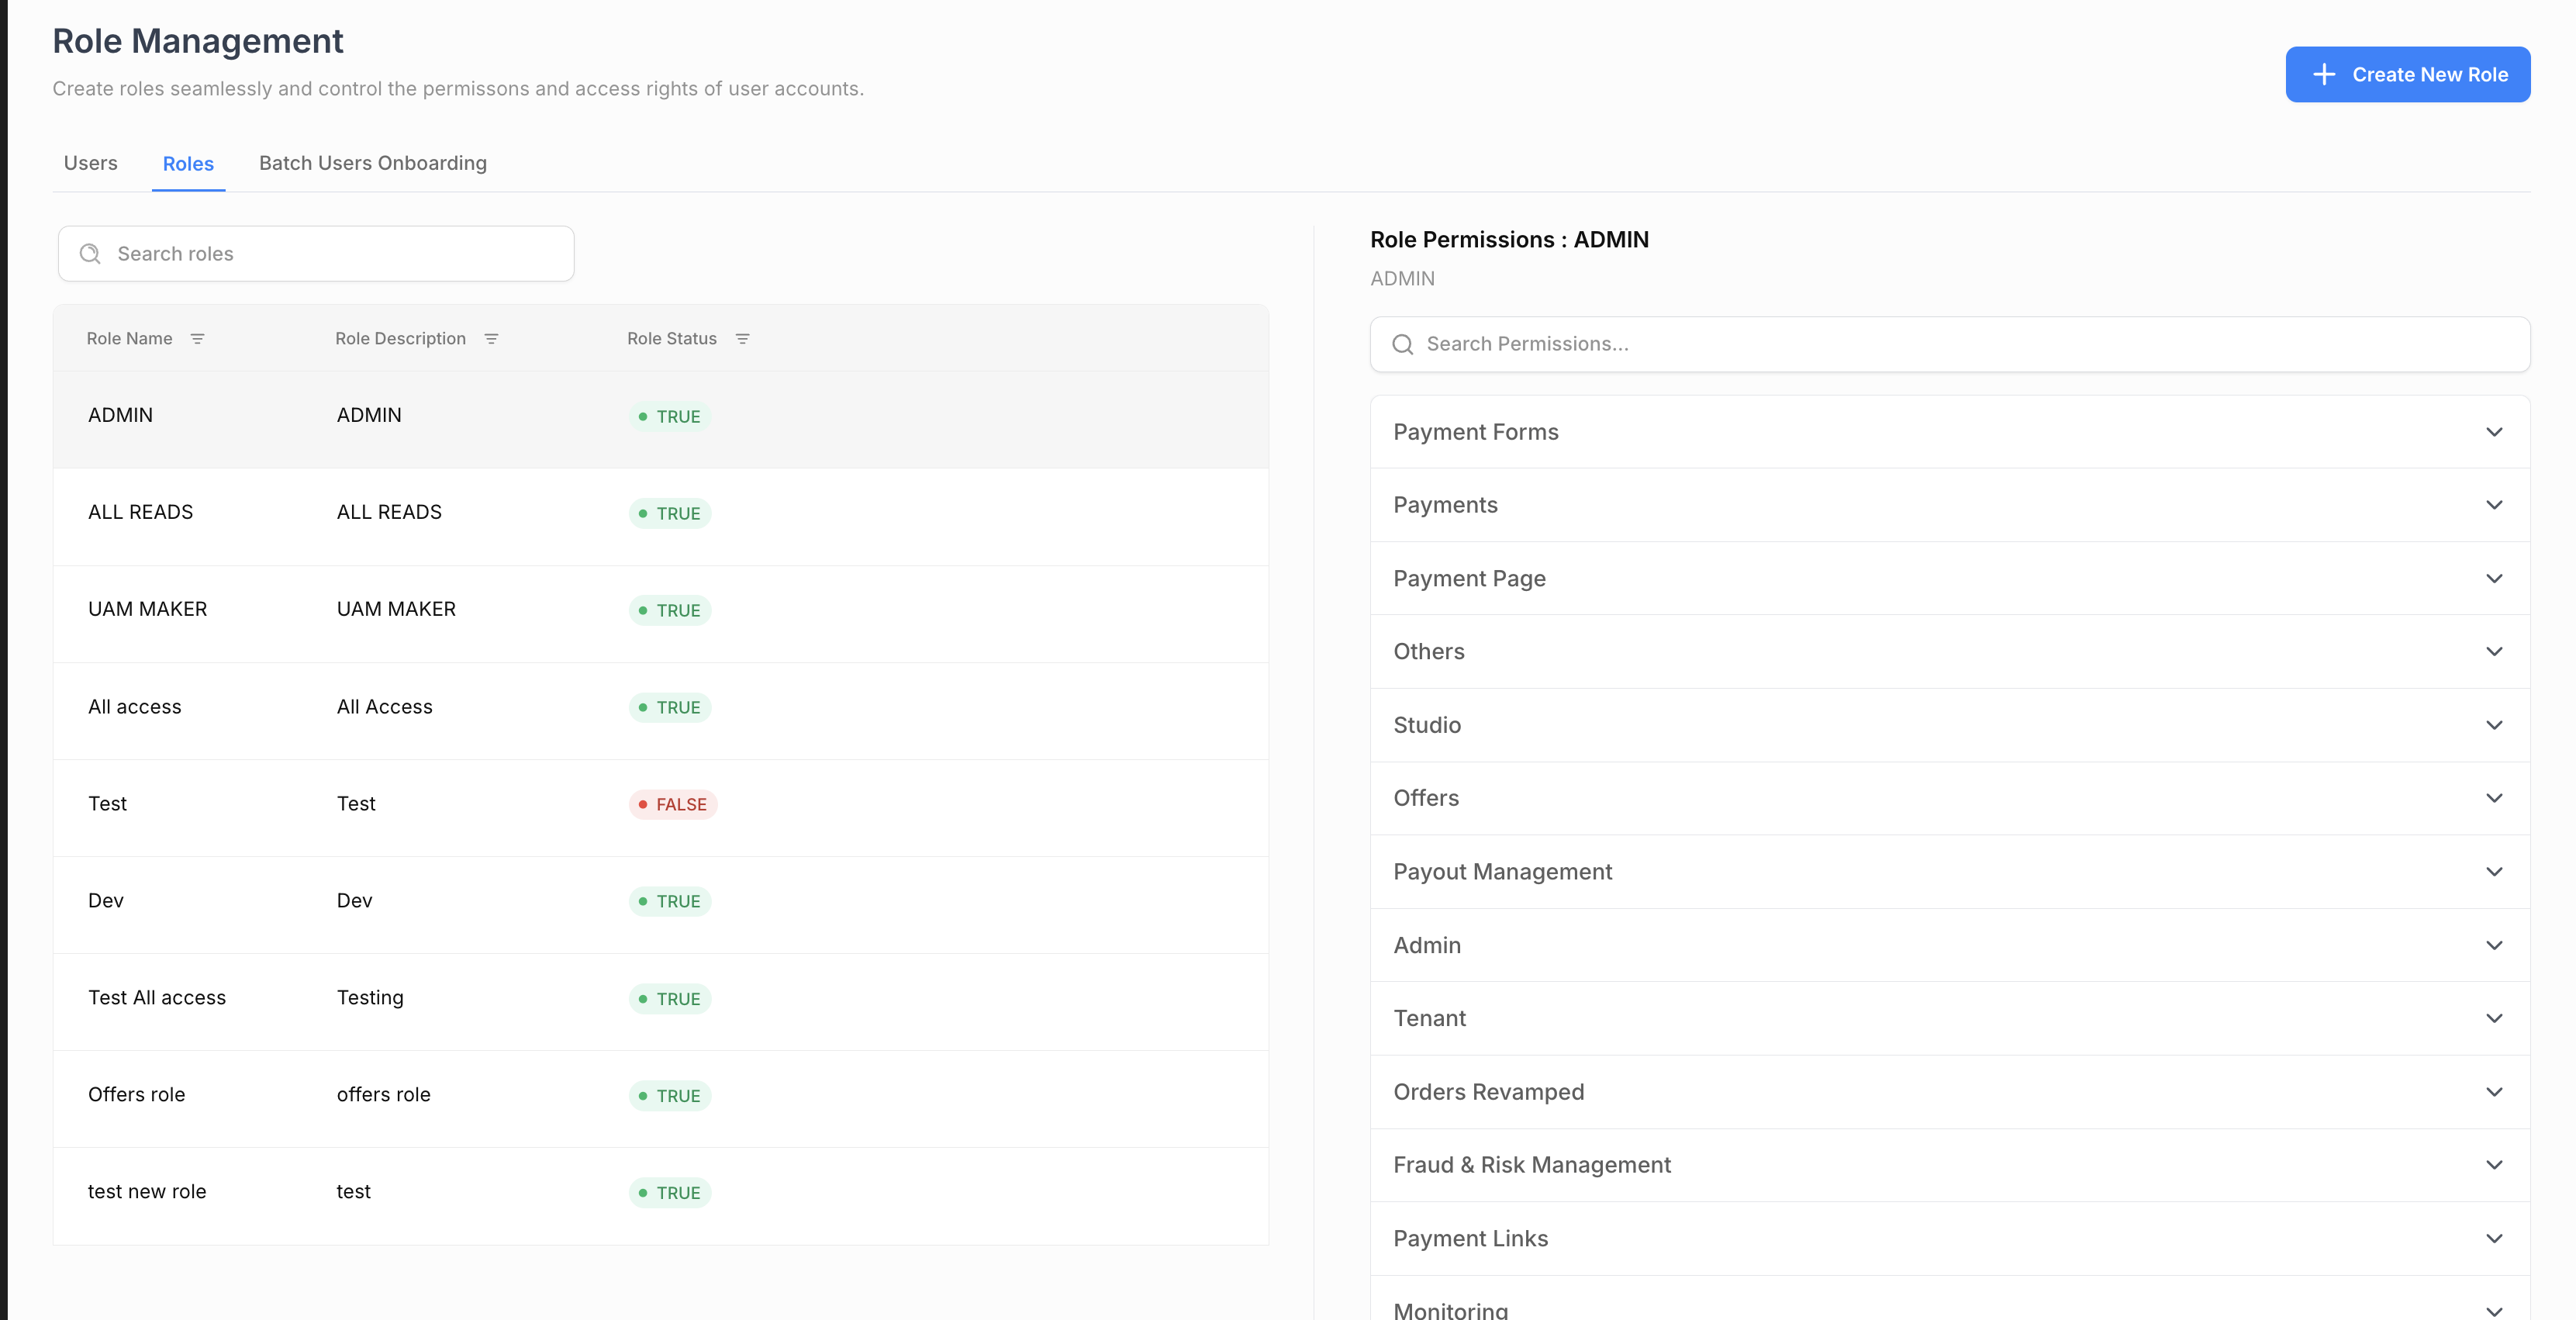
Role Structure
Each role contains:
| Attribute | Description |
|-----------|-------------|
| Role Name | Display name (e.g., "Merchant Admin") |
| Description | Purpose and scope of the role |
| ACL Dictionary | Complete set of permissions organized by module |
| Is Enabled | Whether role is active and can be assigned |
| Active Users Count | Number of users currently assigned to this role |
Permission Levels
| Level | Code | Description |
|-------|------|-------------|
| No Access | NA | Cannot access the module at all |
| Read | R | View-only access, cannot modify |
| Read-Write | RW | Full access - create, view, edit, delete |
| Checker | CHECKER | Can approve/reject maker-checker requests (approval workflow) |
Creating a Custom Role
Step 1: Navigate to Role Management
- Go to Users → Roles → Create Role
Step 2: Enter Role Information
```
Role Name: Custom Operations Manager
- Descriptive, unique name
- Example: "Merchant Operations Manager", "Finance Analyst"
Description: Manages day-to-day merchant operations with approval rights
- Clear description of role purpose
- Include scope (tenant/reseller/merchant level)
Is Enabled: Active
- Set to Active to make role immediately available
- Set to Inactive to create but not allow assignment yet
```
Step 3: Configure Permissions
Select permission level for each module:
Example: Operations Manager Role
| Module | Permission | Reason |
|--------|------------|--------|
| orders | RW | Full order management |
| transactions | RW | View and manage transactions |
| refunds | RW | Process refunds |
| payment_links | RW | Create and manage payment links |
| analytics | R | View reporting only (no edit) |
| gateways_configuration | CHECKER | Approve gateway changes (maker-checker) |
| merchants | R | View merchant information only |
| users | RW | Manage users |
| settings | R | View settings (cannot change) |
Example: Finance Analyst Role
| Module | Permission | Reason |
|--------|------------|--------|
| orders | R | View orders only |
| transactions | R | View transactions only |
| refunds | R | View refunds only |
| All analytics | R | View all reporting |
| settlement_reports | R | View settlement data |
| Everything else | NA | No access to configuration |
Example: Support Agent Role
| Module | Permission | Reason |
|--------|------------|--------|
| orders | R | View customer orders |
| transactions | R | Check transaction status |
| refunds | RW | Process customer refunds |
| payment_links | R | View payment links |
| analytics | R | Basic reporting |
| All configuration | NA | No config access |
Step 4: Review Permissions
- Review the complete permission matrix
- Ensure permissions align with role purpose
- Verify no unintended access granted
Step 5: Create Role
- Click Create Role
- Role is now available for assignment to users
Cloning an Existing Role
To create a role based on an existing one:
1. Navigate to Roles → List Roles
2. Find the role to clone
3. Click Clone action
4. System creates "[Original Name] - Copy"
5. Edit the cloned role:
- Rename appropriately
- Modify permissions as needed
6. Save the role
Use case: Creating "Senior Support Agent" based on "Support Agent" with additional permissions.
Managing Roles
View Role Details
1. Navigate to Roles → List Roles
2. Click on role name
3. View:
- Role description
- Complete permission matrix (all modules)
- List of users assigned to this role
- Active users count
Update Role
1. Go to role details page
2. Click Edit Role
3. Modify:
- Role name
- Description
- Individual module permissions
4. Save changes
Important: All users with this role immediately get the updated permissions. No separate action needed.
⚠️ Warning: Be careful when updating roles - changes affect all assigned users instantly.
Enable/Disable Role
To temporarily disable a role:
1. Go to role details
2. Toggle Is Enabled to OFF
3. Confirm action
Effects of disabling:
- Users with this role lose access immediately
- Role cannot be assigned to new users
- Users remain in the system with role attached
- Re-enabling the role restores access
Delete Role
⚠️ Caution: Role deletion is permanent.
Requirements:
- Role must have 0 active users
- All users must be reassigned to other roles first
Steps:
1. Go to role details
2. Reassign all users to different roles
3. Verify active users count = 0
4. Click Delete Role
5. Confirm deletion
6. Role is permanently removed
Cannot be undone.
Best Practices for Roles
1. Principle of Least Privilege
- Grant minimum permissions needed for the job
- Start restrictive, expand only when necessary
2. Clear Naming Conventions
- Use descriptive role names
- Include scope in name: "Tenant Finance Analyst", "Reseller Support Agent"
3. Thorough Descriptions
- Document role purpose clearly
- Note intended user types
- List key responsibilities
4. Regular Reviews
- Review role permissions quarterly
- Remove unused roles
- Update permissions to match business needs
5. Separation of Duties
- Don't combine maker and checker permissions in one role
- Separate operational and approval permissions
- Keep financial reporting separate from operations
6. Role Hierarchy
- Create roles for different seniority levels
- Junior, Senior, Manager tiers as needed
- Clear permission escalation path
10. Frequently Asked Questions
User Creation and Management
Q: Can a tenant user or reseller user access multiple merchants?
A: Yes! Users can be granted access to multiple merchants via the Merchant Access field. They can switch between merchants using the entity switcher.
Q: How long are user invitation links valid?
A: By default, 24 hours. This is configurable at the tenant level via the "Email Link Timeout" setting.
Q: What happens if a user doesn't complete setup within 24 hours?
A: The invitation link expires. User can click on forgot password on login page
Q: Can I change a user's email address?
A: Yes, but the user must have ACTIVE status and must verify the new email address.
Q: What's the difference between disabling and deleting a user?
A:
- Disable: User cannot log in, but all data is retained. Reversible.
- Soft Delete: User marked as deleted but can be restored. Reversible.
- Hard Delete: User permanently removed. Irreversible.
Merchant Access
Q: What happens when a user switches merchants?
A: The system generates a new authentication token with the selected merchant's context. The page refreshes and the user sees data for the selected merchant only.
Q: Can reseller users access merchants outside their reseller?
A: No. Reseller users are restricted to only the merchants belonging to their reseller. The system enforces this restriction.
Roles and Permissions
Q: What's the difference between R, RW, and CHECKER permissions?
A:
- R (Read): View-only access, cannot modify
- RW (Read-Write): Full access - create, view, edit, delete
- CHECKER: Can approve/reject maker-checker workflow requests
- NA (No Access): Cannot access the module
Q: What happens when I update a role's permissions?
A: All users assigned to that role immediately get the updated permissions. There's no delay or separate action needed.
Q: Can I customize permissions for a user who has a role assigned?
A: Generally no. Role permissions override individual ACL configurations. To customize:
- Update the role (affects all users with that role)
Q: Can I delete a role that has users assigned to it?
A: No. You must first reassign all users to different roles, then delete the role.
Q: What happens if I disable a role?
A: All users with that role immediately lose access. The role cannot be assigned to new users. Re-enabling restores access.
Security
Q: What should I do if a user account is compromised?
A: Immediately:
1. Disable the user account
2. Review audit logs for suspicious activity
3. Force password reset
4. Enable/verify 2FA
5. Revoke any API keys
6. Investigate scope of breach
7. Report to security team
Q: How often should users change passwords?
A: Recommended every 90-180 days. This is configurable at the tenant level through password policy settings.
Q: Can I require 2FA for only certain users (e.g., admins)?
A: 2FA is mandatory in production environment
Troubleshooting
Q: User didn't receive invitation email. What should I do?
A:
1. Check user's spam/junk folder
2. Verify email address is correct (no typos)
3. Check if email link has expired (>24 hours)
4. Resend invitation from user management
5. Verify email service is working
6. Contact Juspay support if issue persists
Q: User is locked out after failed login attempts. How do I unlock?
A:
1. Navigate to user details page
2. Click "Unlock Account" (if available)
3. User can now attempt login again
4. Consider sending password reset if user forgot password
Q: I can't see the "Update Merchant Access" button. Why?
A: The button only appears for:
- Tenant users (in TENANT context) with tenants: ReadWrite ACL
- Reseller users (in RESELLER context) with resellers: ReadWrite ACL
- Not shown in MERCHANT context
Also check with Juspay if showMerchantAccessEnabled config is true.
Q: Why can't I update merchant access for a user?
A: Check:
- User must be in ACTIVE status (not INACTIVE, DORMANT, or SOFT_DEL)
- You cannot update your own merchant access
- You must actually change access (not same as current)
- You need appropriate ACL permissions
Q: User can't switch to a merchant even though they have access. Why?
A: Verify:
- Merchant is in user's merchantsAccess array (check user details)
- Merchant is enabled (not disabled)
- User has active status