

Webhooks
After the completion of every payment/refund call, Juspay will provide direct notification to your server regarding events, like: Order Succeeded, Transaction Charged etc.. These direct notifications are called Webhooks. Configuring webhooks is mandatory step.
In this document we have covered below points in detail.
Importance of Webhooks
There are two ways to know the transaction status, first by calling Order Status API and second by consuming the webhooks for respective events. We always recommend to use both and not rely on any one of it.
Why would we say that?
It's possible that the status of an order was updated, but you may not have polled our Order Status API. This could result in a delay in updating your customers about their order status. To address this issue and ensure timely updates to your customers, we highly recommend utilizing Webhooks in addition to the Order Status API.
Payment redirection using customers' browsers are not reliable all the time. There would be instances where customers' devices would be on low-quality connections and thereby the final redirection might not succeed. In such cases, a webhook call can help you complete the order for the customer.
Configuring Webhooks
You can configure webhooks in Juspay Dashboard![]() . Follow below flow to reach webhooks section:
. Follow below flow to reach webhooks section:
Login to Juspay Dashboard → Payments → Settings → Webhook Tab
Step 1: Configure Webhook URL
In the Webhook Settings section, you must provide a URL in the "Webhook URL" placeholder. Ensure that this URL is a valid HTTPS endpoint reachable from Juspay's servers. Juspay servers will send data to this endpoint using HTTPS POST requests.
Step 2: Configure Username and Password
You need to configure Username and Password authenticate the webhook request at your end.
Please ensure that special characters like @!#$%&'*+-/=?^_.{|}~` are not used in the username.
Lets understand in detail how you can use username and password to authenticate the webhook .
Once the username and password is configured, Juspay will Base64 encode the pair username:password and send it within the headers of the Webhook as a Basic HTTP Authorization Header. Adding below a sample payload where username and password is encoded in sent against Authorization parameter in headers.
Now, once your server receives the webhook, decode the header to validate the webhook source. Follow below steps to authenticate:
Extract the Basic Authorization Header from the incoming webhook request.
Base64 Decode the value. The decoded value will be in the format
username:password.Extract the username and password from the decoded value and verify if they match the ones you configured in the Juspay Dashboard.
Accept the webhook only if Username and Password matches with the one configured in Juspay Dashboard. Else, you can reject the webhook.
If you want to add extra layer of authentication on webhooks, you can configure custom webhook headers as well based on your use case. Follow 2 step process mentioned below to configure custom headers.
Step 1: Navigate to Custom Headers section. And click in “Add Webhook header”
Step 2: Add the desired Name and Value. Now, click on “Add Webhook” to save the configuration.
Once this is configured, Juspay will include the specified Name and Value as additional headers in the webhook request. Here's an example of how these custom headers are sent:
curl --location --request POST '<merchant-webkook-url>' \
--header 'Content-Type: application/json' \
--header 'Authorization: Basic <Base64_encoded_pair_username:password>' \
--header 'CustomeHeaderName1: CustomeHeaderValue1' \
--data <Webhook-Payload>
Make sure to not pass the Name in custom headers as Authorization.
Step 3: Configure Webhook Events
Webhooks will be triggered for the events enabled under the Webhook Events section.
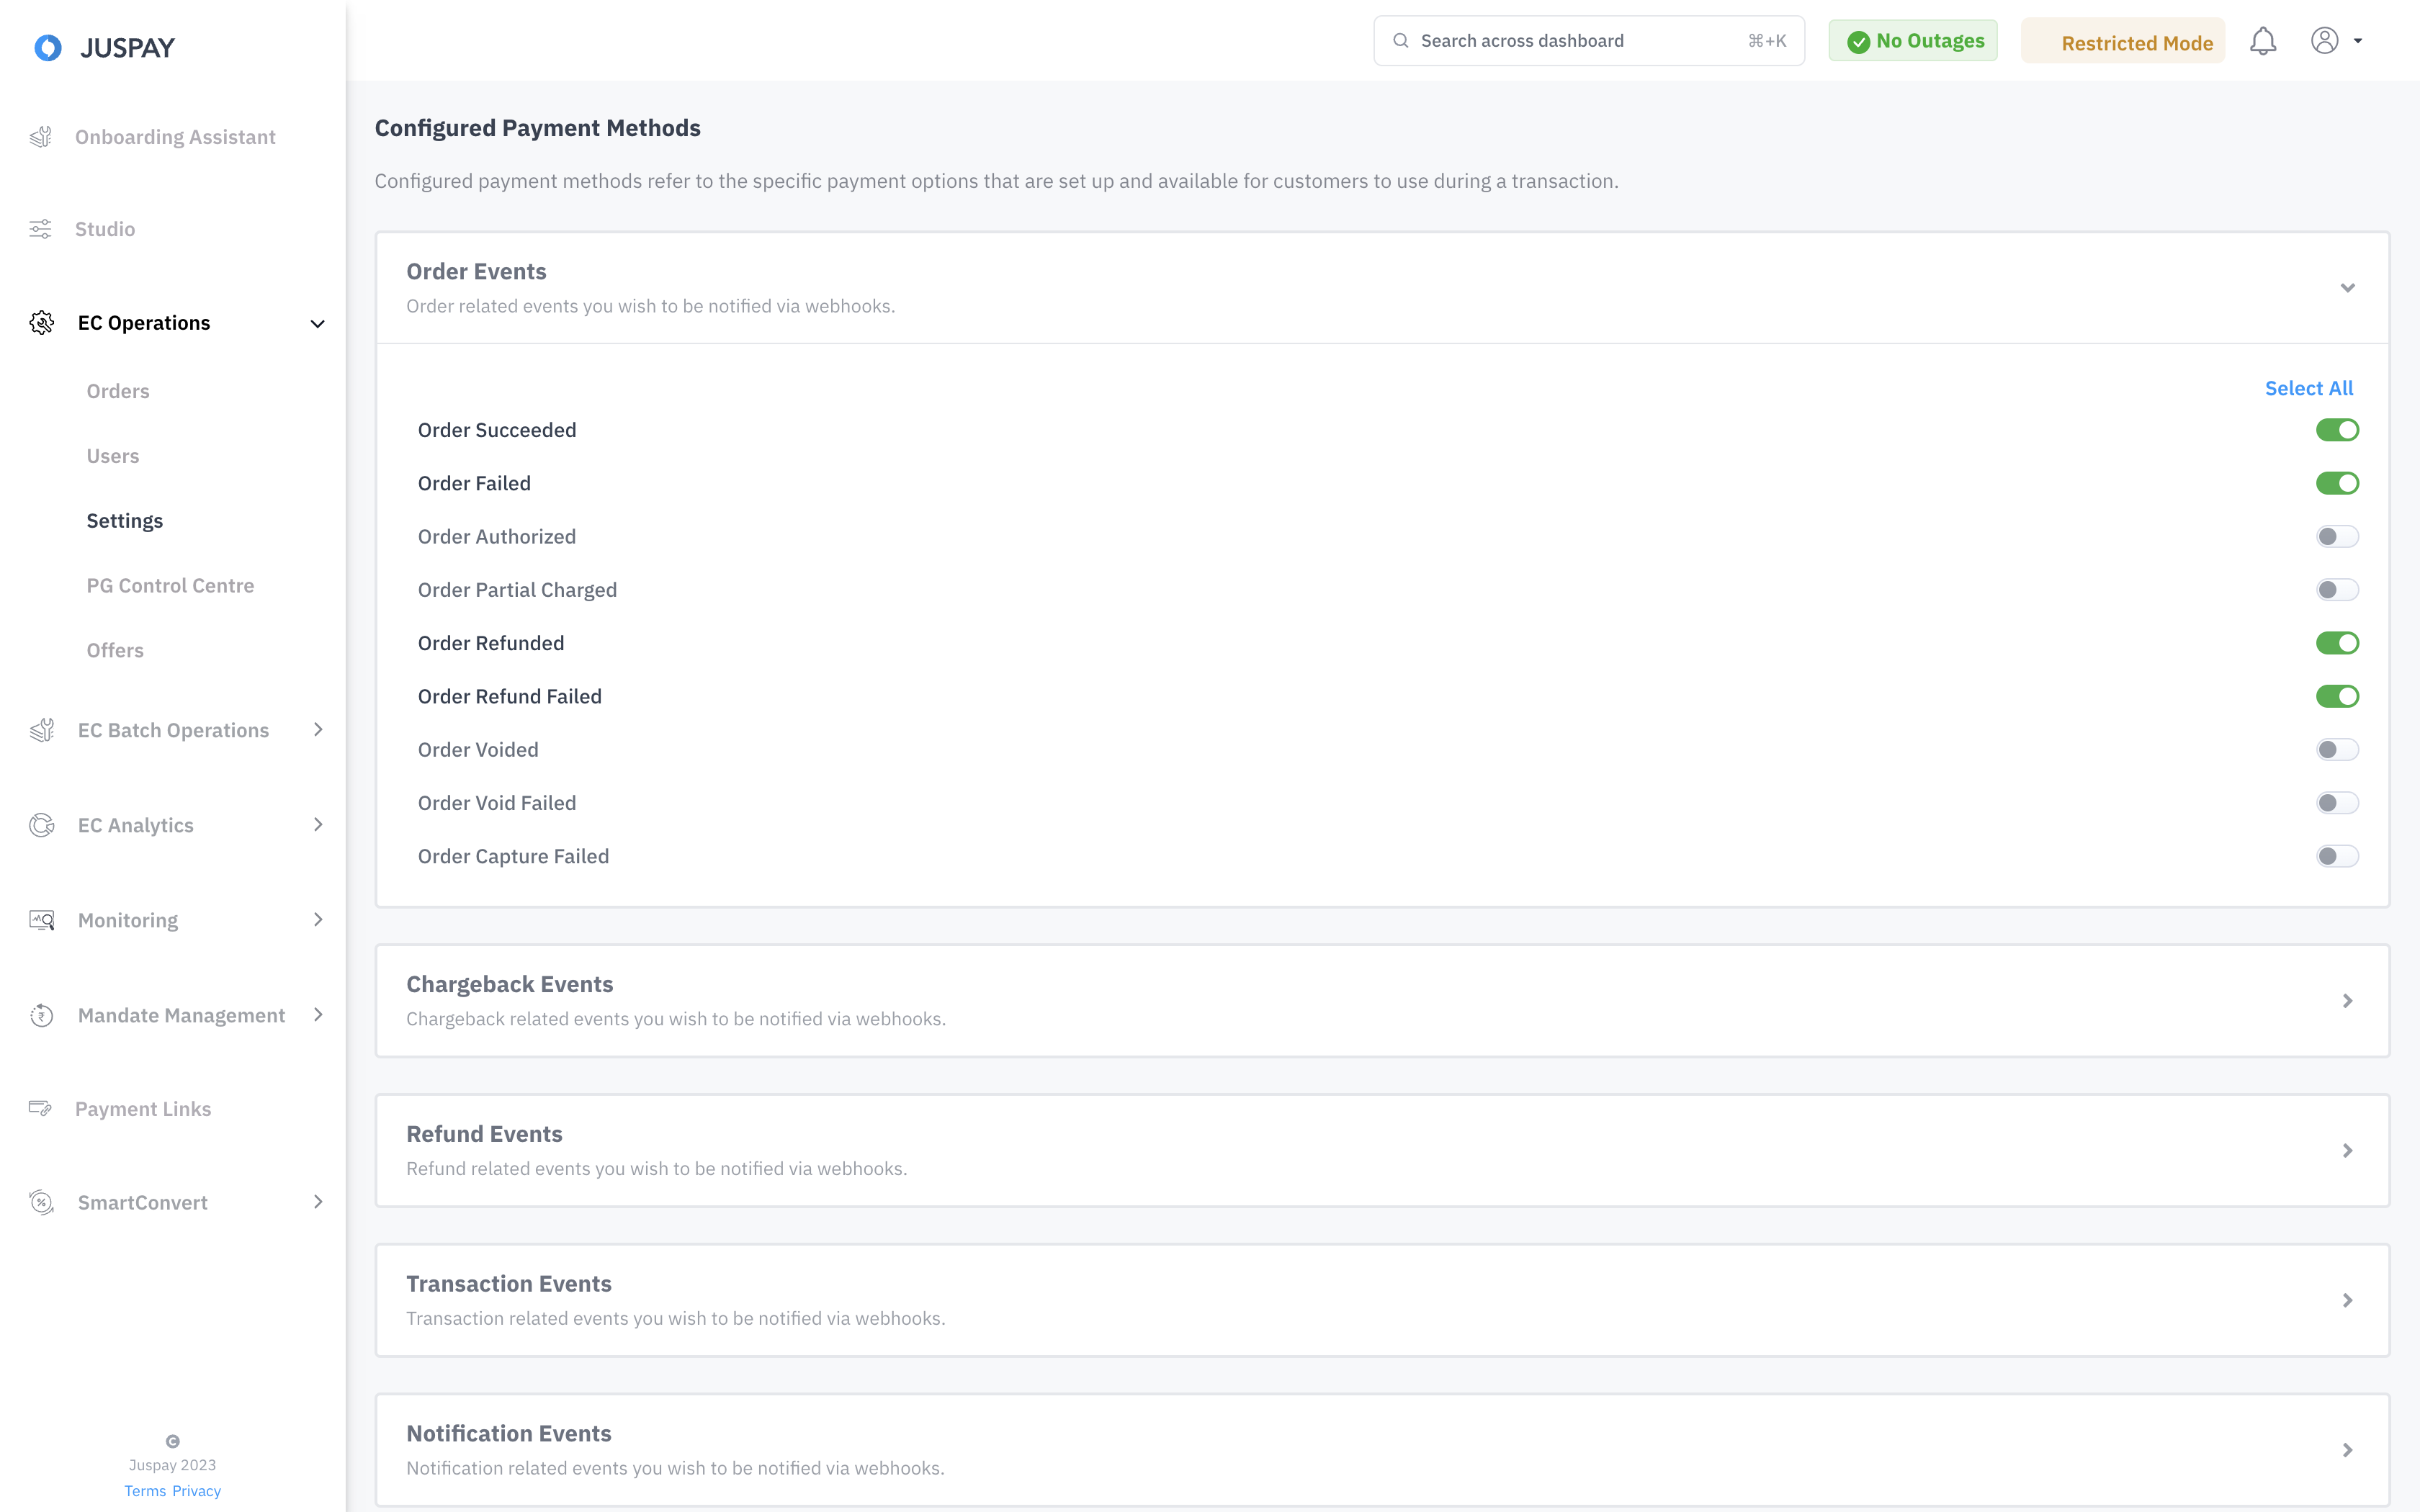
To know in detail about all the events Juspay provide kindly check out the Webhook Events and Sample Payloads![]() section.
section.
Handling Webhook
When consuming webhooks, it's essential to provide a 200 Status Response. Juspay considers a webhook as "not notified" if it receives a non-200 response and will re-send the webhook until a 200 response is received.
To check the webhook status of any order:
In the Juspay Dashboard, go to EC Operations.
Select Orders.
Search for the respective Order ID.
Scroll down to the Webhooks Tab.
If a webhook event was consumed, and the status response is 200, the "Webhook Notified" column will be marked as TRUE. For non-200 responses, it will be marked as FALSE.
.gif)
In very rare scenarios, our webhook call pertaining to order might hit your server more than once. This can happen due to network fluctuations. So, care must be taken to ensure that such scenarios are handled too.
Dynamic Webhook URL Configuration
If your order fulfillment process involves multiple independent systems that require transaction status updates, you can use the metadata.webhook_url key in the API (/session, ecr/orders) or SDK Payload request.
This ensures that the dynamic webhook url provided in the request takes precedence over the webhook url configured on the dashboard.
Using a dynamic webhook URL is ideal when a specific transaction requires the merchant to receive webhooks at a different URL rather than the primary or secondary URLs configured on the Juspay Dashboard.
Please note that webhook authentication will remain consistent with the settings configured on the Dashboard.
Encrypted Webhook Payload
Enable JWT Webhooks from dashboard.
Are you migrating from another auth method?
If you are planning to migrate from the existing auth method, please ensure backwards compatibility of webhooks.
Once JWT webhooks is enabled and is activated we will start encrypting the webhooks.
For Decryption Process refer the guide
Guide : https://juspay.io/in/docs/api-reference/docs/express-checkout/jwejwt-encryption-guide![]()
Miscellaneous
Juspay IP Addresses that send the webhooks
Production:
13.126.232.13
35.154.93.248
65.2.117.44
3.110.250.172
Sandbox:
52.221.151.249
13.228.4.195
13.234.141.165
3.111.27.22
3.109.41.51
13.235.85.36
3.6.2.61