

Refunds
Refunds can be initiated only for transactions that are CHARGED. The refunded amount will be settled to the same payment method that the customer used for making the payment.
Initiating Refunds
There are 2 ways to initiate refunds:
Using Juspay Dashboard
Individual Order Refund (Manual Refund)
Manual refund can be created for individual transactions by following below steps:
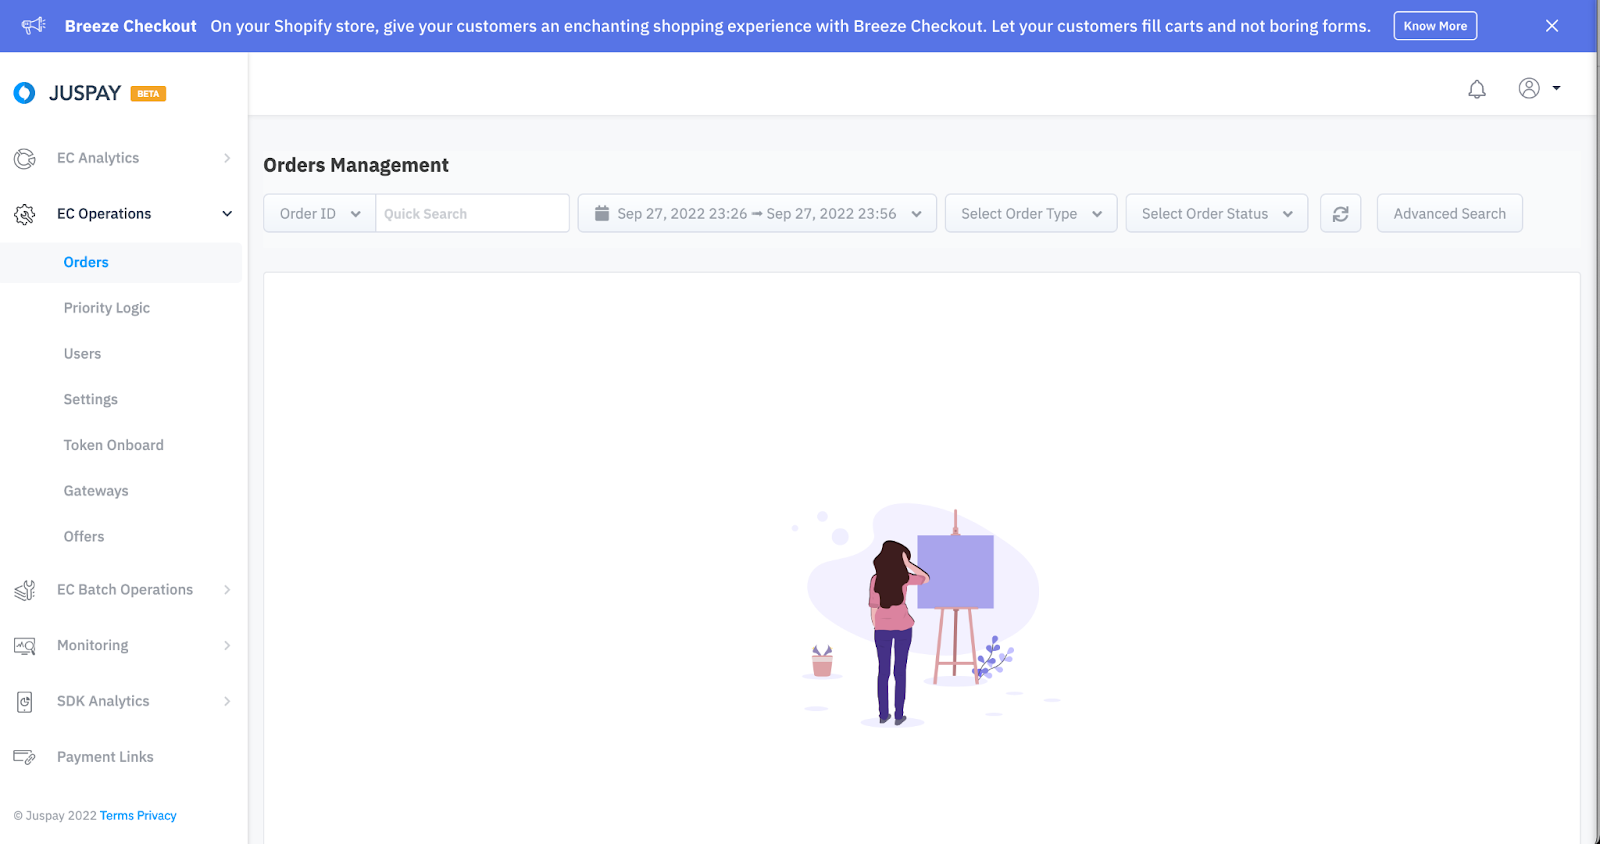
Login to Juspay Analytics Dashboard and Navigate to Orders under EC Operations.
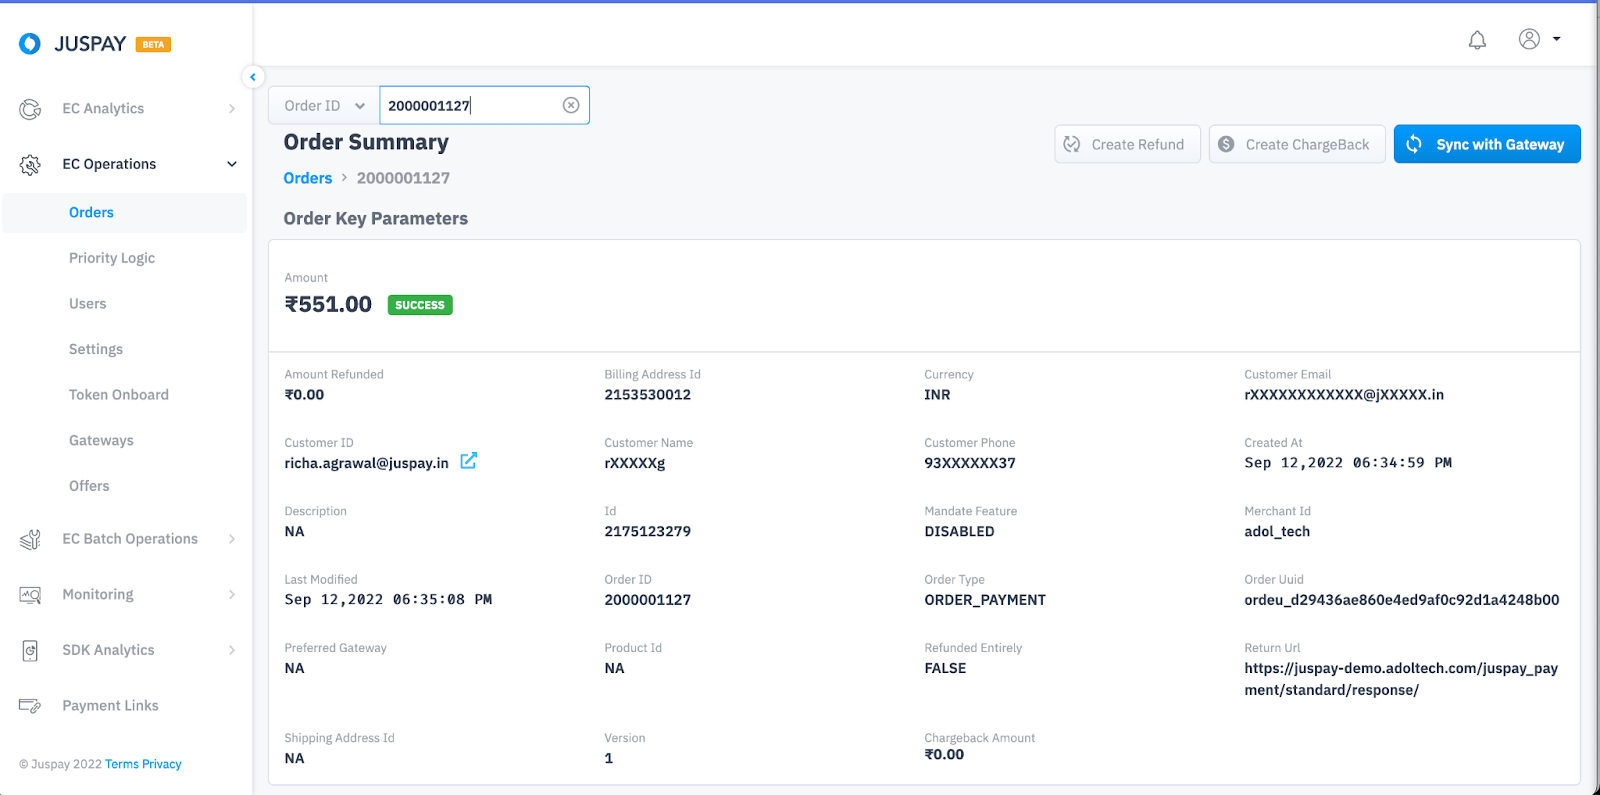
Navigate to the order for which you need to create refund and click on Create Refund.
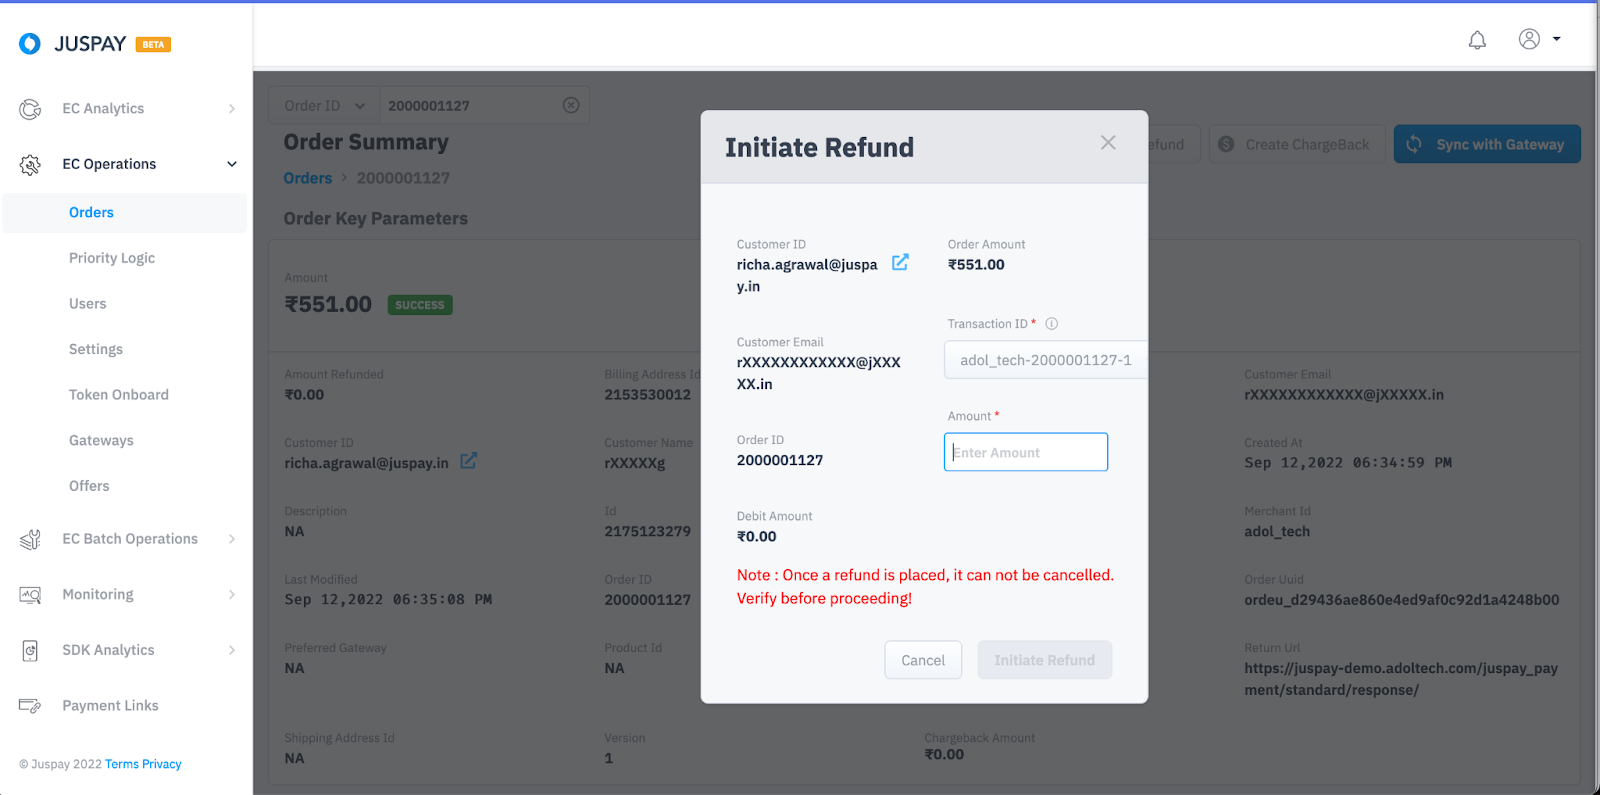
You will get a popup with all the order information. Enter the amount and click on Initiate Refund.
Batch Refund
Users can mark multiple refunds by uploading a single file by selecting Batch Refund in Juspay Dashboard. Follow steps mentioned below:
Login to Juspay Analytics Dashboard and Navigate to Refunds under EC Batch Operations.
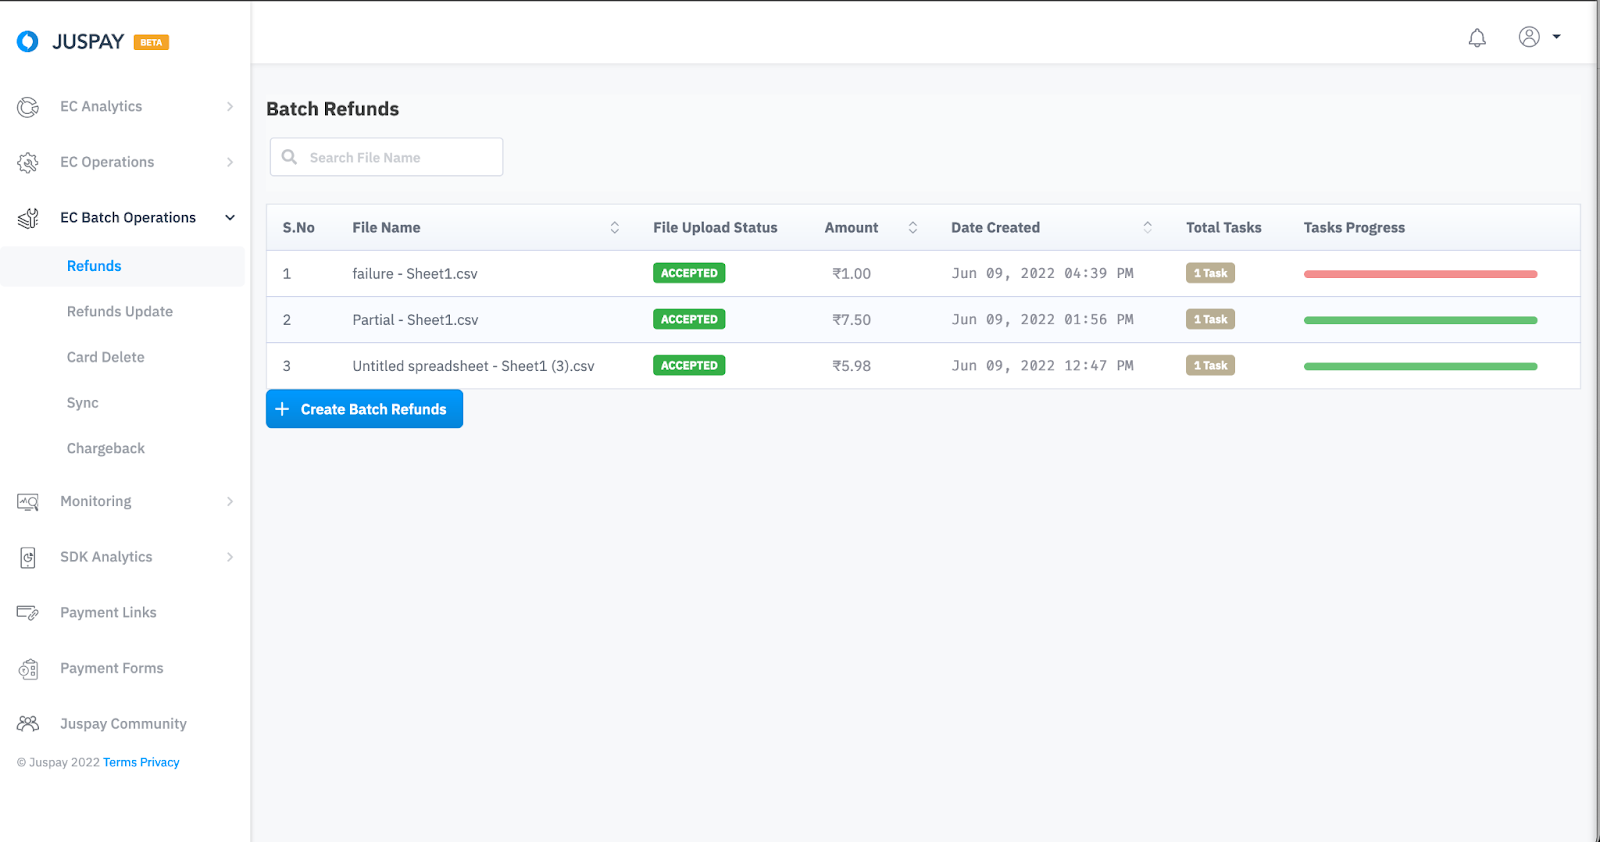
Click on Create Batch Refund and Download the sample CSV file to check the details and the format in which you need to upload the file.
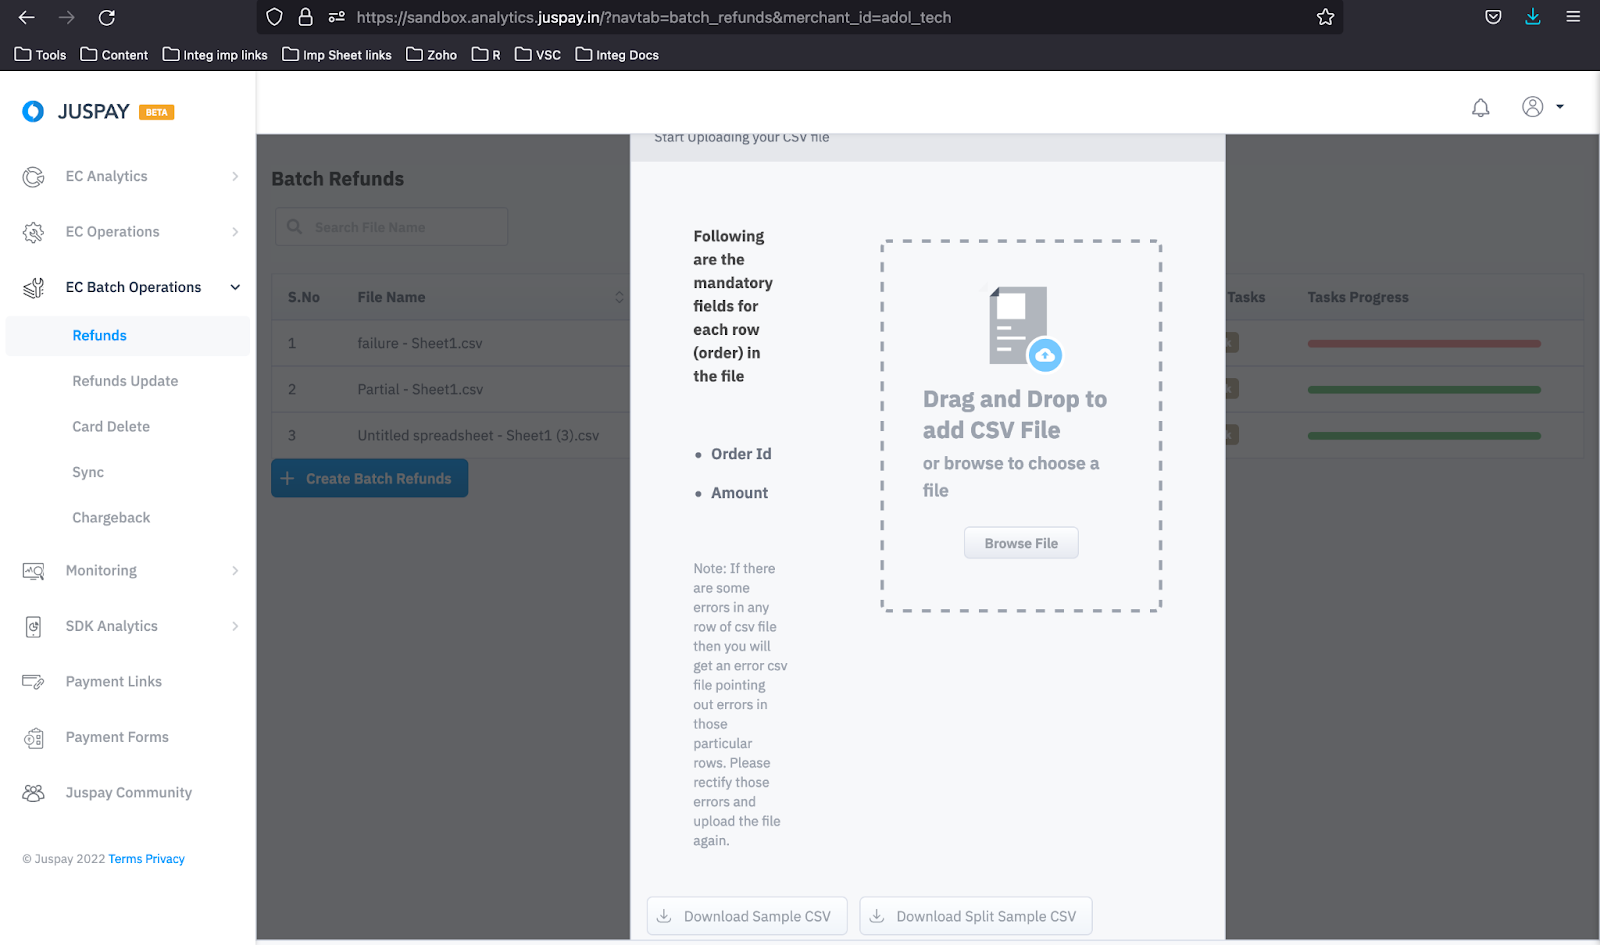
Once your batch refund CSV file is ready, Upload.
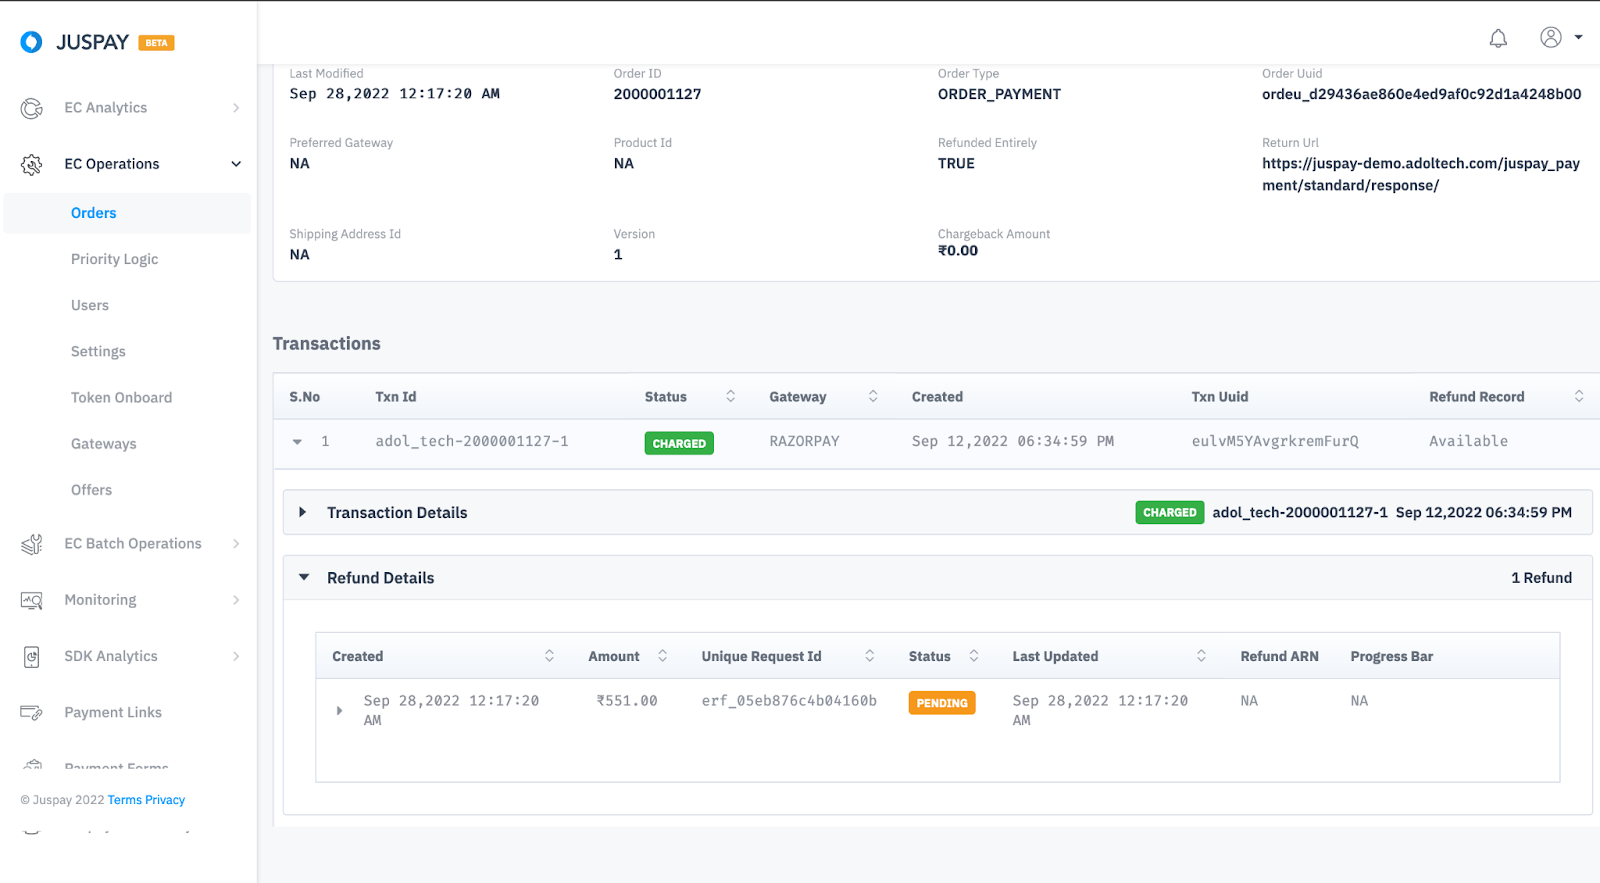
Refund Status
|
Refund Status
|
Description
|
|---|---|
Pending
| Juspay has marked refund and sent a refund request to underlying PG.
|
Success
| Refund has been successfully executed by underlying PG.
|
Failure
| Refund is failed.
|
Manual Review
| Refunds that are pending more than 10 days goes into manual review.
|
Updating Refund Status
Order Status API: You need to poll this API and fetch refund details from the refunds block in the API response. Refer Order Status API
 Section to know in detail.
Webhook: Consume ORDER_REFUNDED and ORDER_REFUND_FAILED and REFUND_MANUAL_REVIEW_NEEDED webhooks to update the refund status real time. Refer Transaction Status
Section to know in detail.