

GPAY_IMF
Step 1 - Procure Gateway Credentials
You can get the GPAY_IMF credentials directly from the Google Dashboard as shown in the screenshot below -
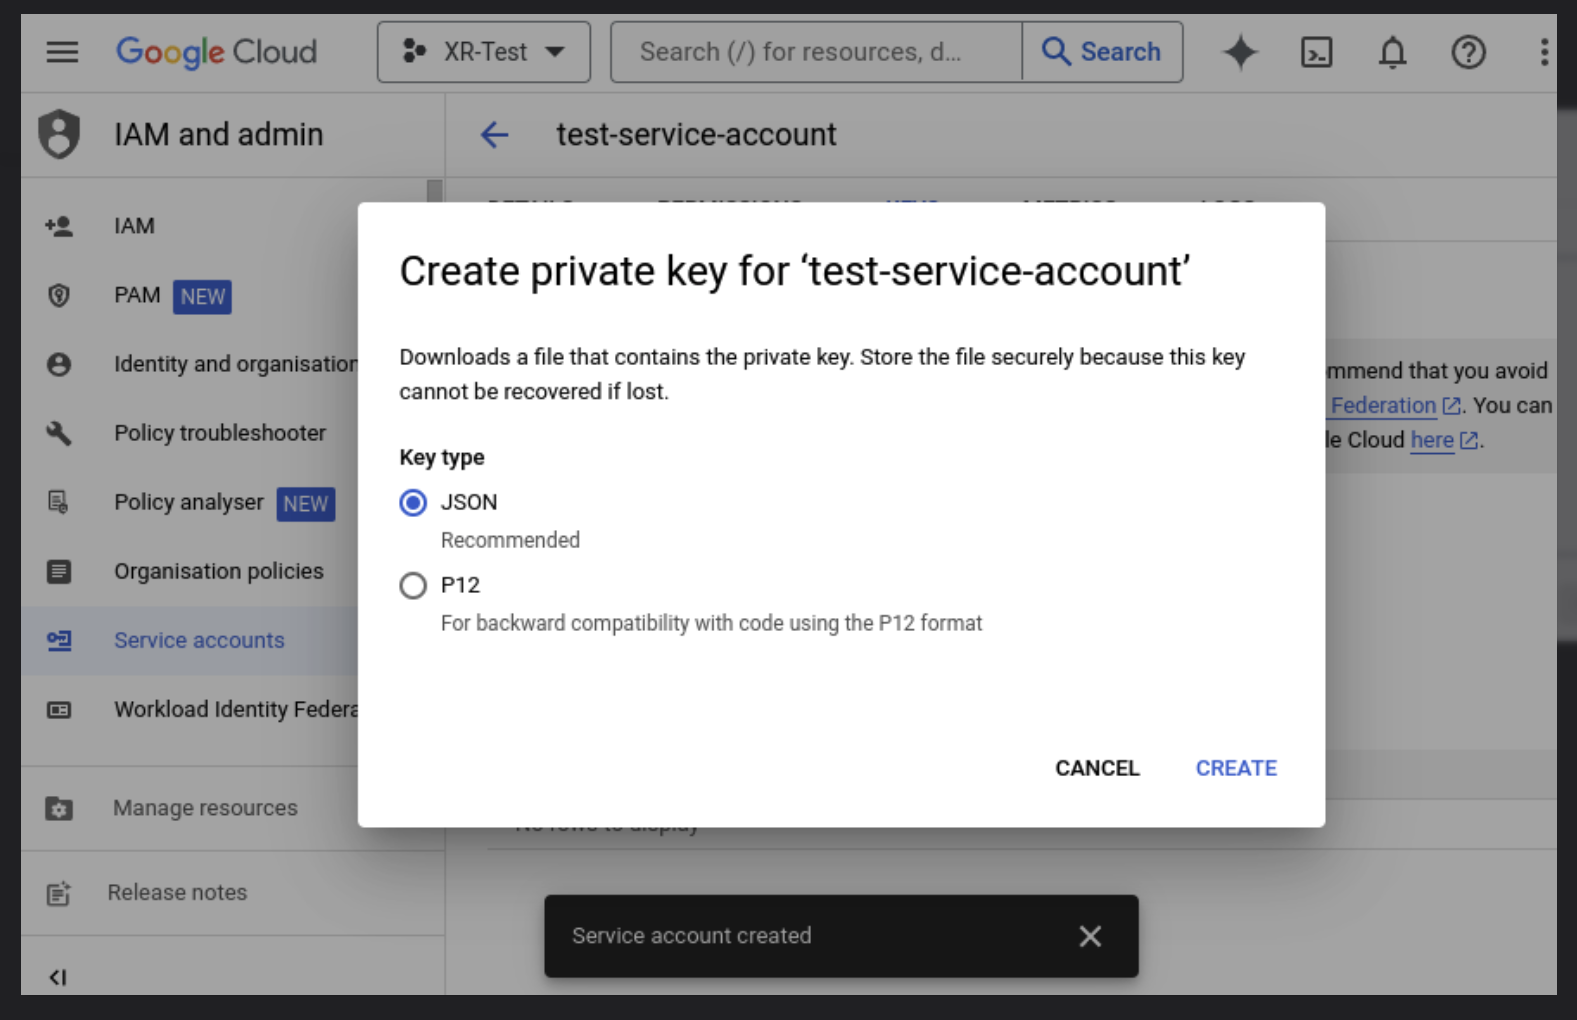
A json file with the credentials will be downloaded on your system.
Step 2 - Dashboard Configuration
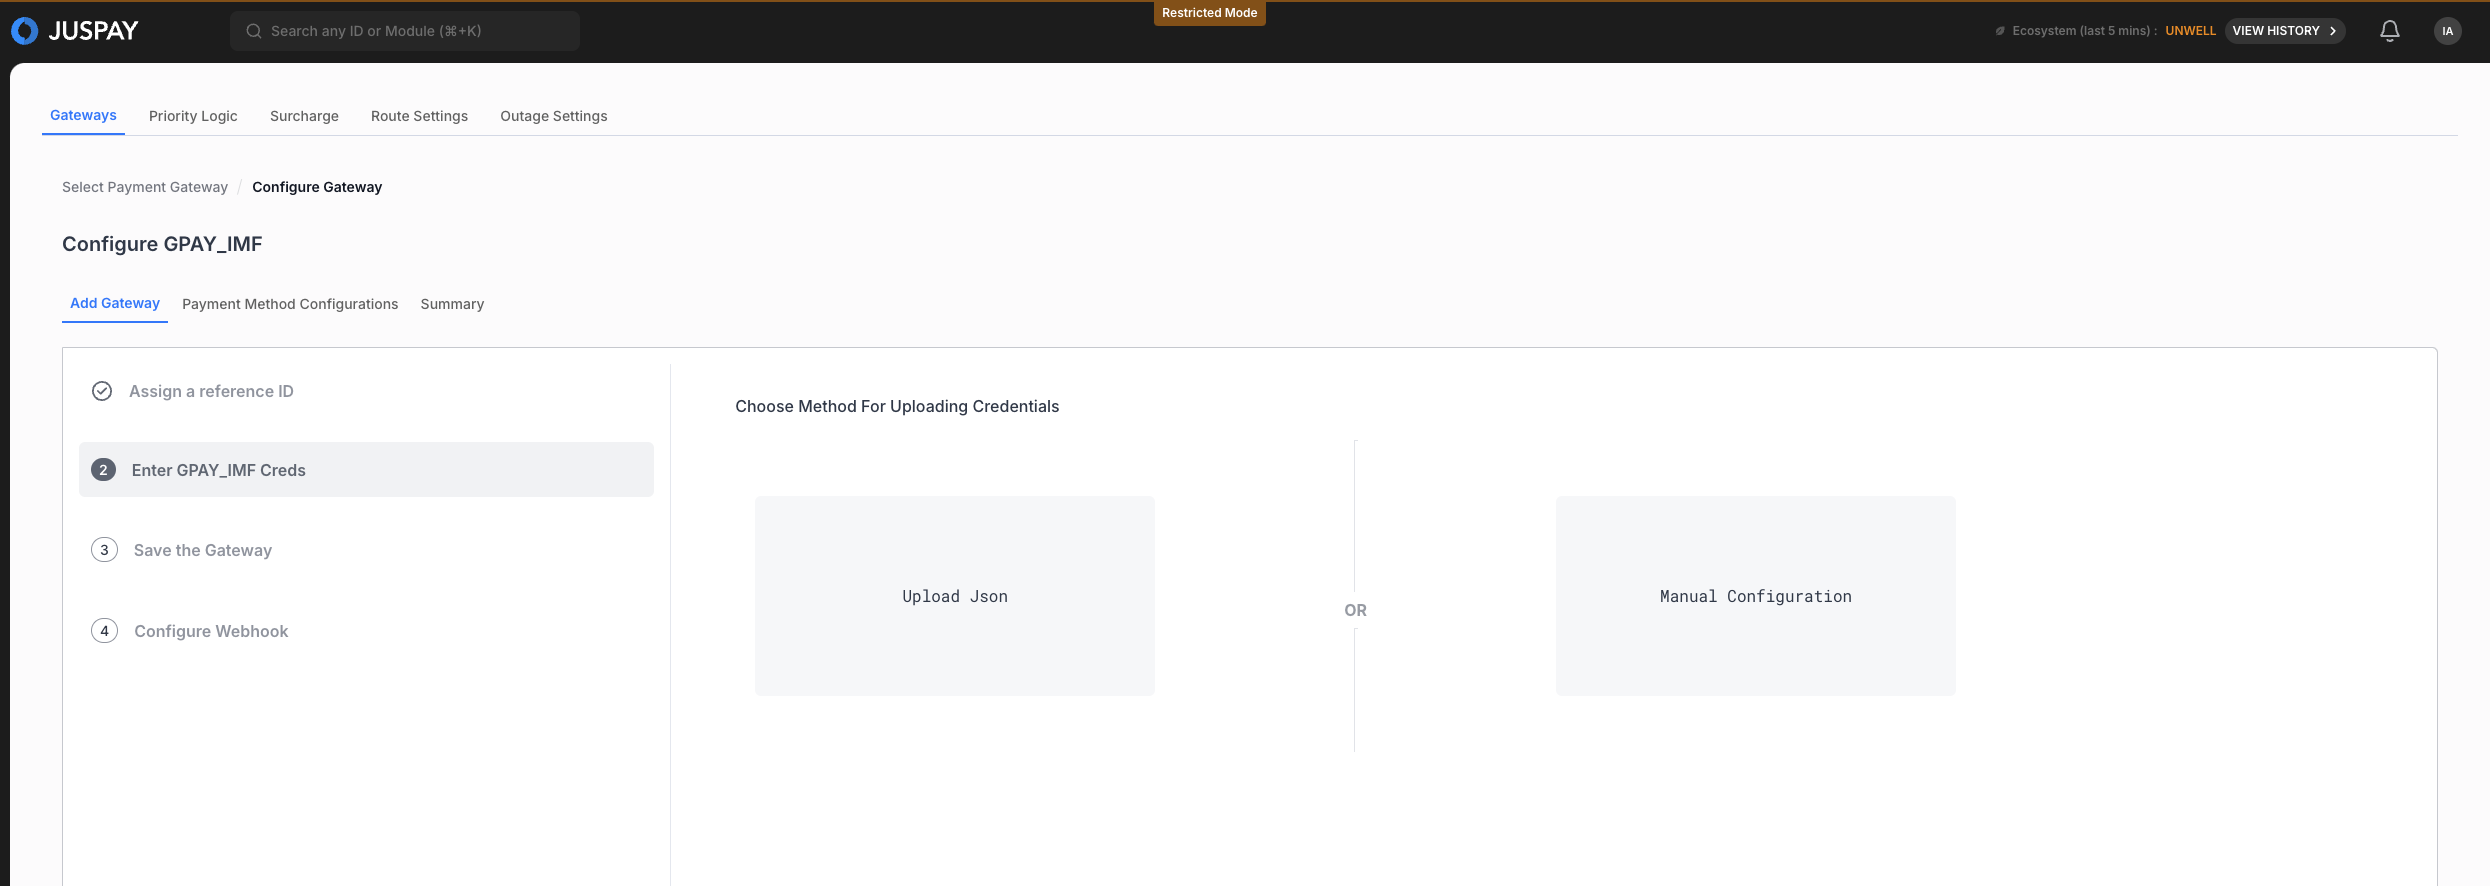
You can either directly upload the JSON file on the Juspay Dasboard or manually enter the details -
Open up the Juspay Portal
Production: https://portal.juspay.in
 (Configuring here will affect your live environment)
Sandbox: https://sandbox.portal.juspay.in
(Dedicated for testing)
Navigate to Payments → PG Control Centre
Select GPAY_IMF under the “Add a Payment Gateway (PG)" section
Select an environment for the payment gateway. If not sure then confirm with GPAY_IMF team whether the credentials provided by them are for testing or production usage
Live Environment: Real money involved, all flows supported
Testing Environment: Simulate payments, only some flows are supported
Gateway Reference ID: For most cases you don’t need this but if you do then refer https://juspay.io/in/docs/hyper-checkout/android/resources/gateway-reference-id
Step 3 - Configure Payment Methods
Configure the payment methods as per your business needs using the Juspay Dashboard. Enable or disable payment methods your business will accept through GPAY_IMF on this screen.
Step 4 - Configure Juspay URLs at Gateway
Refer to the Webhook Section to get the list of Juspay URLs that need to be whitelisted at the gateway end.
Step 5 - Testing
Test all payment flows using the sandbox environment. Ensure that all enabled payment methods work as expected and the callbacks are received correctly.
Step 6 - Go live
Switch your configuration to production credentials on Juspay Dashboard after thorough testing, and inform gateway to enable your production credentials if required.