
To release/ publish UI changes in Juspay Studio, follow these steps:
1. Make the desired changes to your Payment Page UI in Juspay Studio.
2. Click on the "Save" button at the top right corner of the Studio.
3. Click on "Create Ticket" and add comments about your changes.
4. Click on "Proceed" and select the platforms (Android, iOS, Web) where the changes should apply.
5. Click on "Proceed" again to initiate the push of the changes to your UI.
6. Wait for a few minutes for the changes to be pushed and reflected in your project or build.
Once the changes are pushed, your UI will be updated with the new design.
Note: Please make sure you have required Studio access to publish the UI changes.
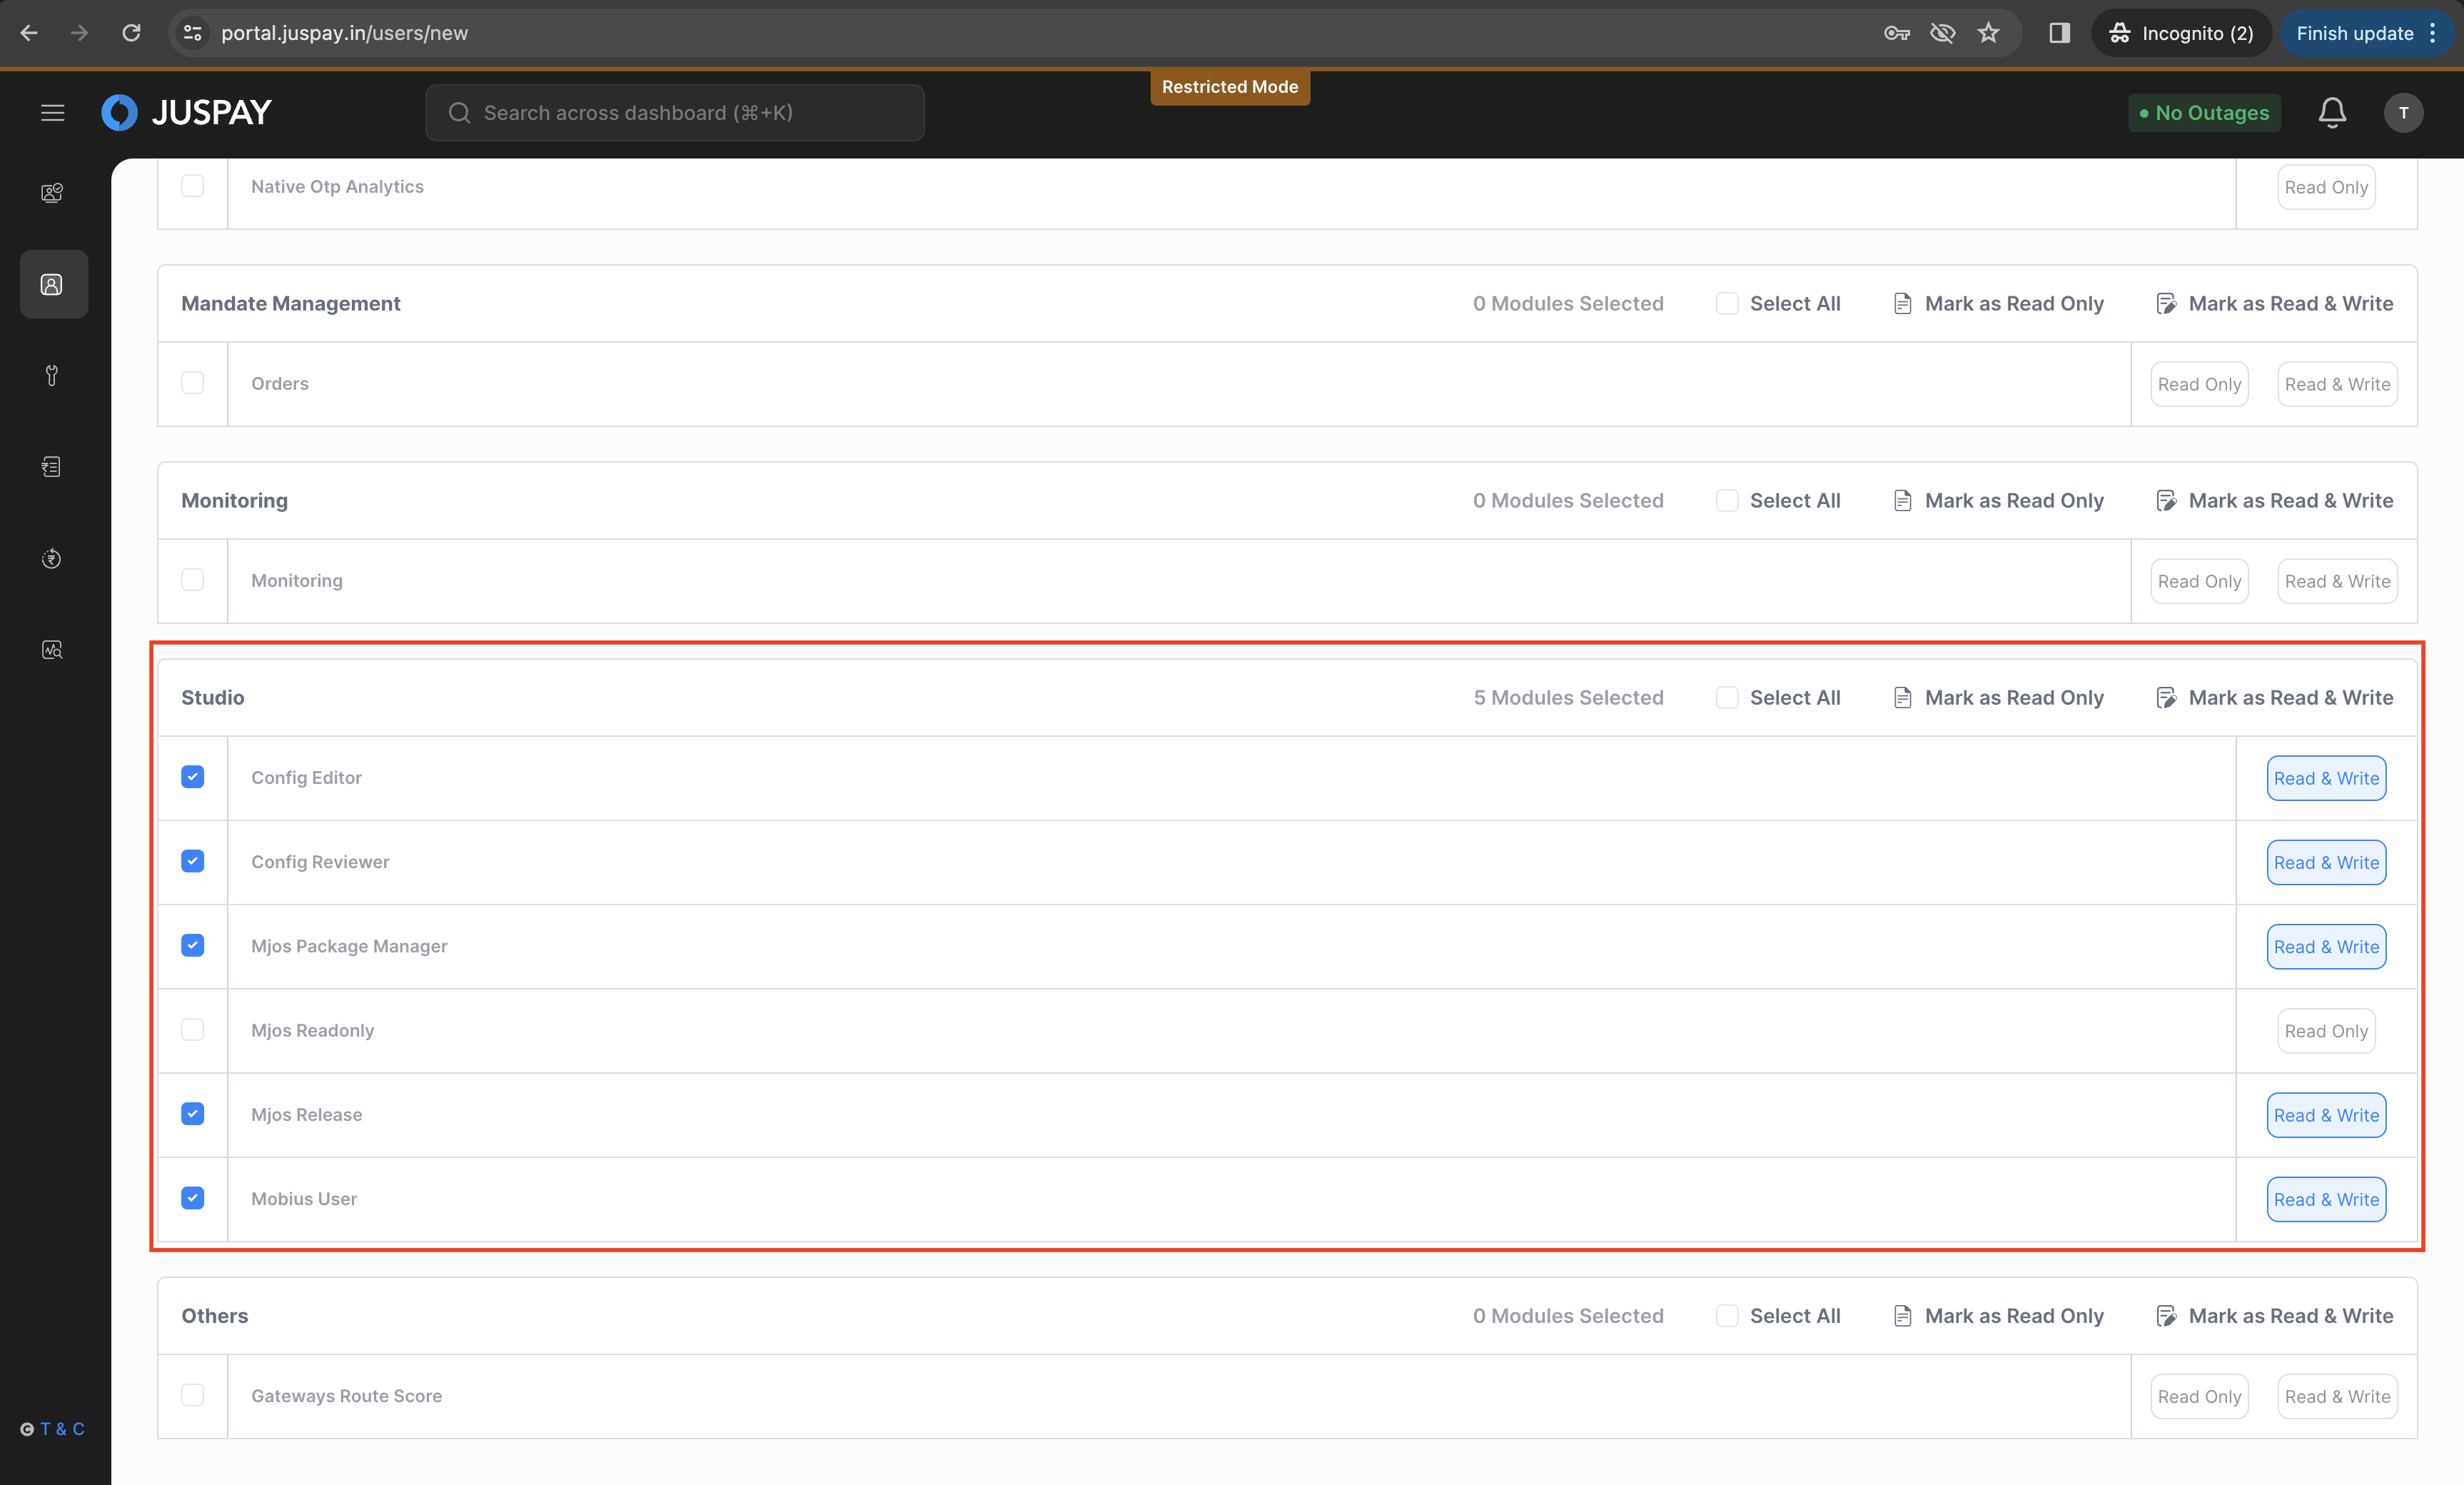
The admin user must give Read & Write access for below sub-modules under Studio module to publish the UI changes.
Config Editor → To make UI changes
Config Reviewer → To approve changes
Mjos Package Manager and Mjos Release → To publish the UI changes.
The mobile design will be applied across Mweb, Android, and iOS.
There are multiple states of components and screens, they fall under the UI stack (error, success, default, active, loading). These "interactive" states are not configurable through the Studio.
You can do these changes from the Theme section in the Sidebar. The theme represents the tone of your brand, including things like colors, typography, icons, and shadows. Each has individual properties that you can set according to the brand.
The Controls section in the sidebar contains all the payment flow-related settings. You can configure and reorder payment methods and choose what Payment Options to display on your Payment Page.
Please click on the refresh button in the preview window if you cannot see your changes in real-time.
Changing the Order of UPI Intent Apps in the grid is not possible via Juspay Studio. Please contact your integration SPOC if you wish to make these changes.
If you are an integrating merchant then please make sure that you have saved the changes done in Juspay studio by clicking on ‘Save Changes‘ button and then push the changes to release by clicking on ‘Create a Release Ticket‘ button in studio. Please make sure you have required access to push the studio changes to release.
If you have already pushed the studio changes to release, then please clean the project and make a build again. Post clean build you should be able to see the UI changes on hypercheckout in your app.
There are two texts which are configurable in Order Summary. Here is how you can configure each of them:
Sub text is used to communicate the additional guiding text regarding the order like address, plan type, etc. You can configure this from the “Order Summary” section.
Order name Text is activated by default and is pulled from the backend from the description parameter in the Session API Payload. If you do not pass anything in the description, the Order name Text will be configured as “Amount.”
After making the necessary modifications, remember to save your changes and proceed to generate a release ticket. This action will trigger the creation of an 'In review' ticket, requiring approval and pushing by the Admin User. Once approved, the changes will be applied to your payment page.
Yes, it can change dynamically. To update the text in the UI, you should include the 'description' parameter in the session payload. The UI's order name will be replaced with the value you provide for 'description' in the session payload.
Ensure that the relevant Payment method options are enabled within your Juspay Studio, you can validate this by logging into our Juspay Dashboard > Studio > In the Studio menu, navigate to Controls > Payment Options. Here ensure that the relevant Payment Method Options are enabled for your Merchant ID.
“Draft” indicates that your existing design is stored in the cloud. The subsequent action involves generating a release ticket.
“In Review” signifies the need for a design review.
“Approved” it means your configuration has received approval and should be released.
Note: You cannot change your design and/or save your design when the status shows an active state (In Review/Approved). Changes can only be made in Draft state.
