

Testing Resources
You Should follow below steps to ensure all the functionality of HyperCredit is working as per your use case.
Step 1 : Onboarding on Juspay
A merchant has to configure LSP as payment gateway and enable respective lenders. The configuration can be done on Juspay dashboard (portal.juspay.in![]() ).
).
In order to do this you should login to the Juspay Dashboard via the login credentials that you have received via the welcome EMAIL.
Kindly ensure that all the lenders are configured by the Juspay support team. In case of any queries, reach out to credit.support@juspay.in![]()
Step 2 : Ensure the Design configuration
Kindly ensure that HyperCredit design is as per your brand guidelines. You can configure your HyperCredit screen via portal.juspay.in![]() under the studio section.
under the studio section.
For more details on Juspay Studio visit : Link![]() .
.
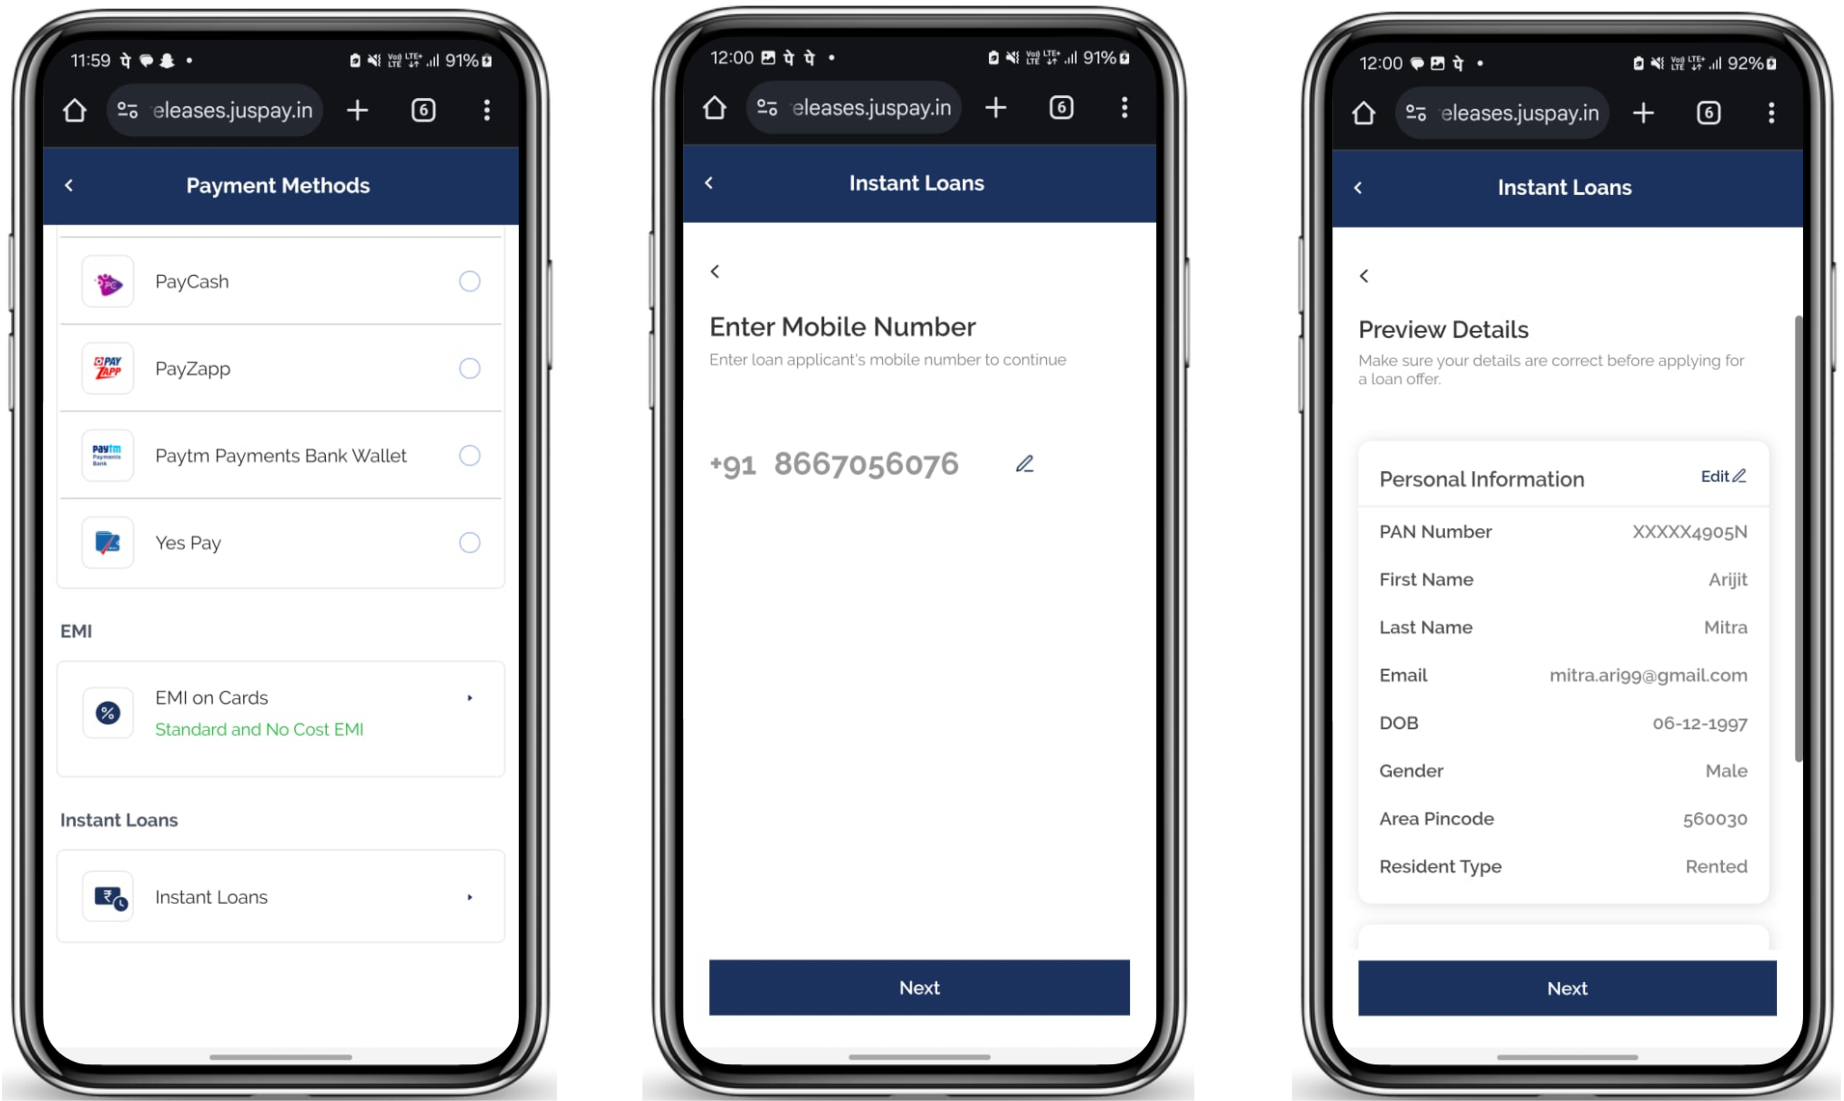
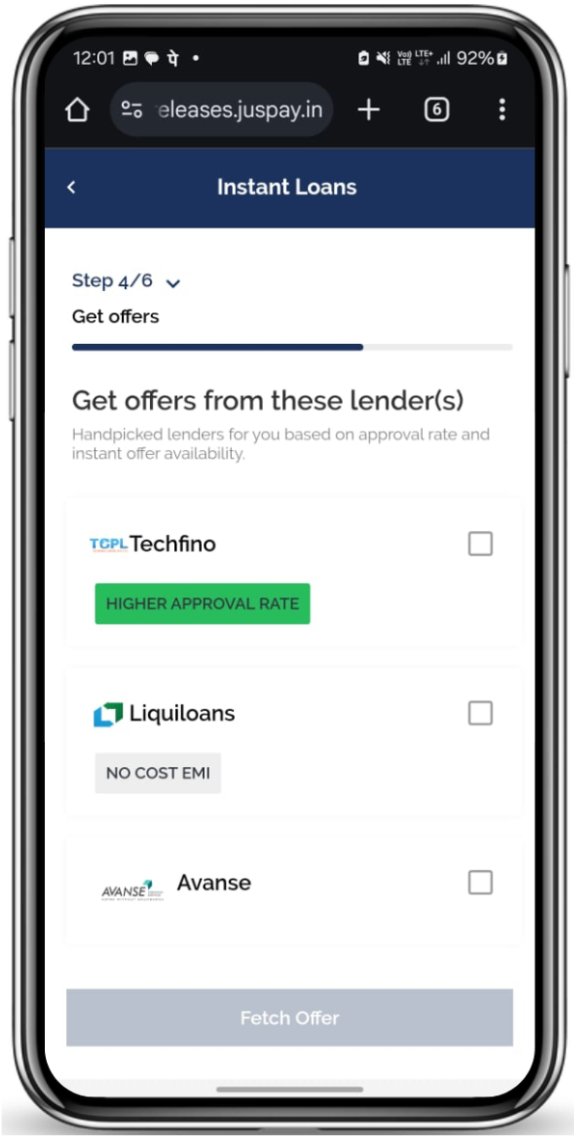
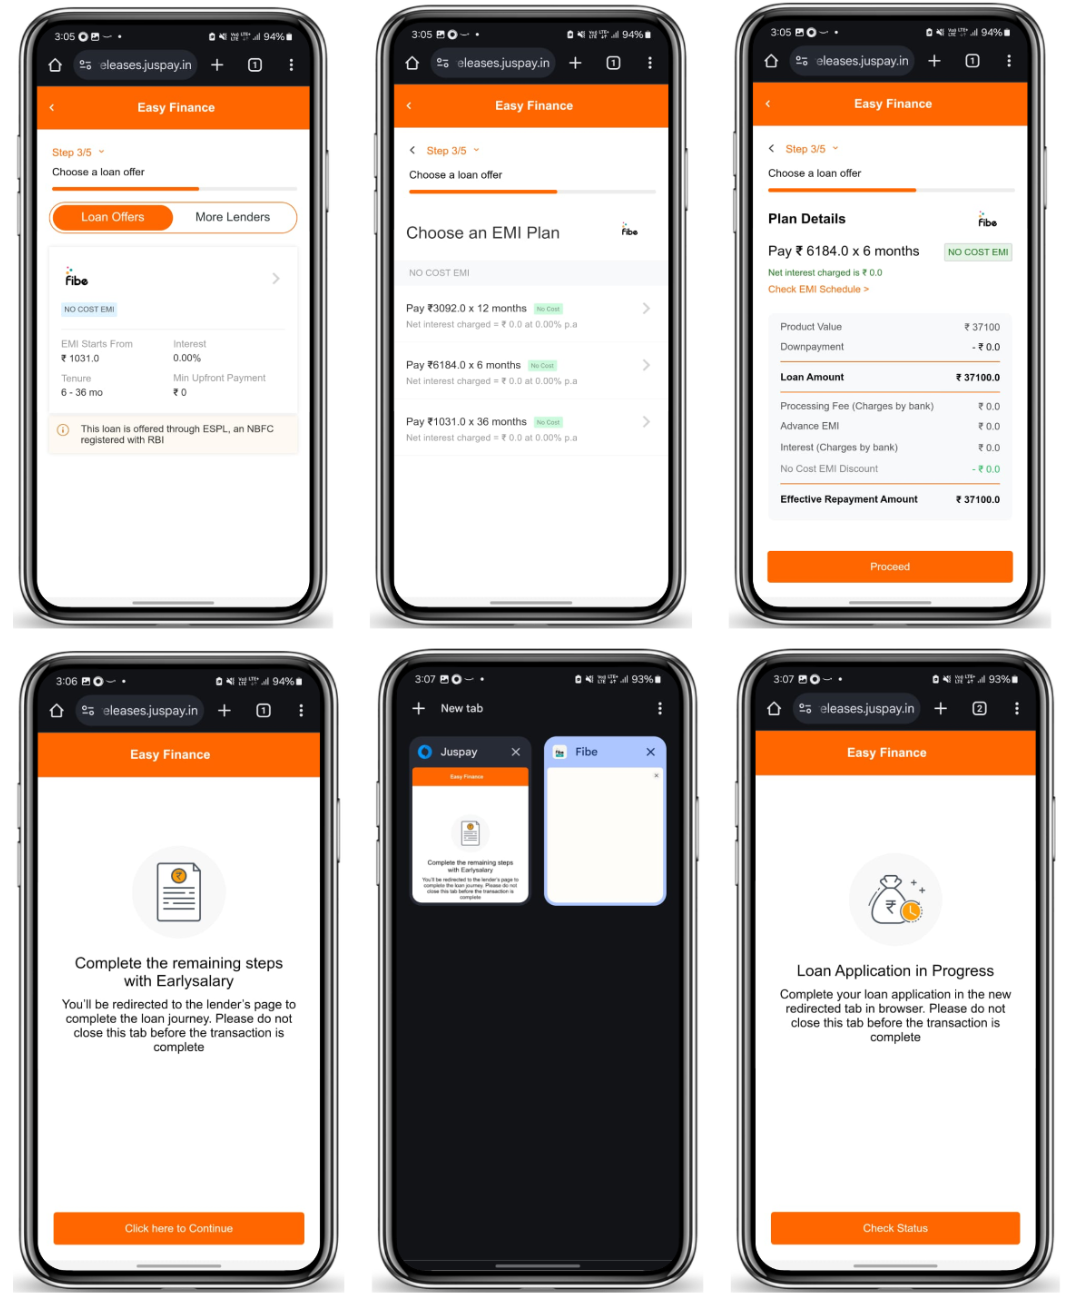
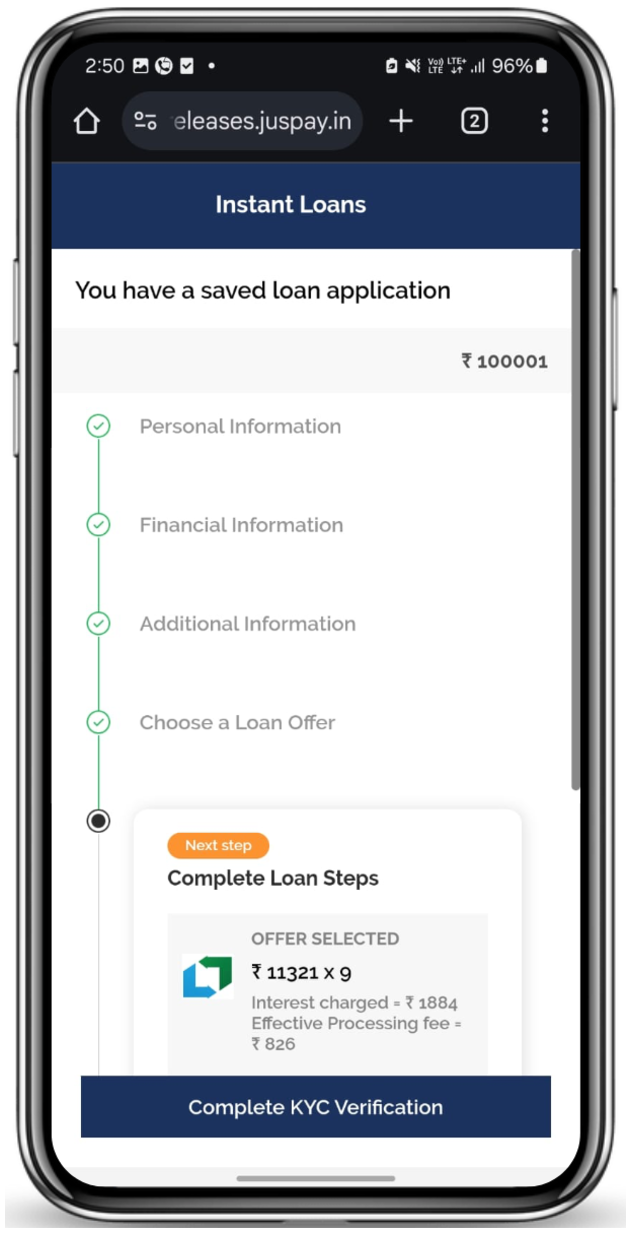
Step 3 : Testing the user Journey
Once you are done with onboarding and have finalized the UI elements, now you should do the loan journey to complete your testing.
The loan journey comprises of the below mentioned substeps :
1. Order Create
2. Information filling
3. Select Lender(s) and generate offers
4. Complete the loan processing
5. Redirection Back to Merchant
Step 4 : Tracking the Order Status
The order status can be tracked using two methods: webhooks and the order status API.
While you are polling for the orders be advised that you will receive the sub status of the orders
For Webhooks:
1. Properly configure the webhook URL.
2. Ensure that no additional webhooks are sent after the terminal webhook is dispatched.
3. Verify that the received webhooks contain the correct details.
4. Configure the URL during the onboarding process.
Refer below to learn more about HyperCredit Webhooks
For the Order Status API:
Poll the API at regular intervals for updates.
Refer below to learn more about HyperCredit Order Status API