Gateway Reference ID
Gateway Reference ID is a parameter that uniquely identifies a specific set of Payment Gateways to which a given transaction should be routed to.
Major Use Cases of Gateway Reference ID
Gateway Reference ID is majorly used in cases when you have received multiple credentials of the same PG.
Use Case 1 : If you have received separate credentials of a PG for different Line Of Business (LOB). There could be multiple instance of having LOBs, some of them are listed below.
Instance 1: You own a Travel Business and have different business lines like: Train, Bus and Flight.
Instance 2: You own a Broadband Business and have different business lines based on services provided like: Prepaid and Postpaid or you have different business lines based on regions like: Delhi, Mumbai, UPWest, UPEast.
Instance 3: You own an Insurance Business and have different business lines based on services provided like: Health, Car, Bike, Travel.
Now lets understand Instance 1 in detail. You have received different set of credentials from the Payment Gateway for each of the LOB. Your business objective is to direct all TRAIN, BUS and FLIGHT transactions through the PG credentials received for the respective LOB. You can achieve this using Gateway Reference ID. The Gateway Reference ID helps you make sure that when someone pays for a train ticket, the money goes to the train account, and likewise for buses and flights.
Use Case 2 : If you want to route certain payment methods to a set of PG credentials and rest of the payment methods to another set of PG credentials, but both the set of credentials belong to the same PG. For instance: you want to route UPI transactions to PG creds 1 and cards transactions to PG creds 2. The Gateway Reference ID lets you do this routing effectively, ensuring that each payment goes to the right account.
Use Case 3 : If you have received different PG credentials for Mandate and One-Time Transactions. For instance: you want to route your Mandate transactions to PG creds 1 and One-Time transactions to PG creds 2. The Gateway Reference ID helps you send recurring payments to one account and one-time transactions to another.
How to Integrate Gateway Reference ID?
To integrate Gateway Reference ID, changes have to be made in:
- Warning
Please note that if there is a mismatch between the Gateway Reference ID configured within PG Control Centre and the one passed in the Session API, Juspay would not be able to process the transaction and you will see incorrect payment methods on Juspay Hypercheckout screen.
Also, if you try to initiate transaction, it will fail and the transaction status will be “STARTED“.
Session API / Order Create API
Please make sure to pass the parameter "metadata.JUSPAY:gateway_reference_id" during order creation. To create order, one can use Session API or Order Create API based on the product being integrated. For Hypercheckout, call Session API![]() and for EC API or EC SDK call Order Create API
and for EC API or EC SDK call Order Create API![]() . The value you pass in this parameter is the identifier of the relevant account of the PG to which transaction should be routed
. The value you pass in this parameter is the identifier of the relevant account of the PG to which transaction should be routed
Value of Gateway Reference ID is case sensitive.
PFB a sample payload of Session API with Gateway Reference ID.
PFB a sample payload of Order Create API with Gateway Reference ID.
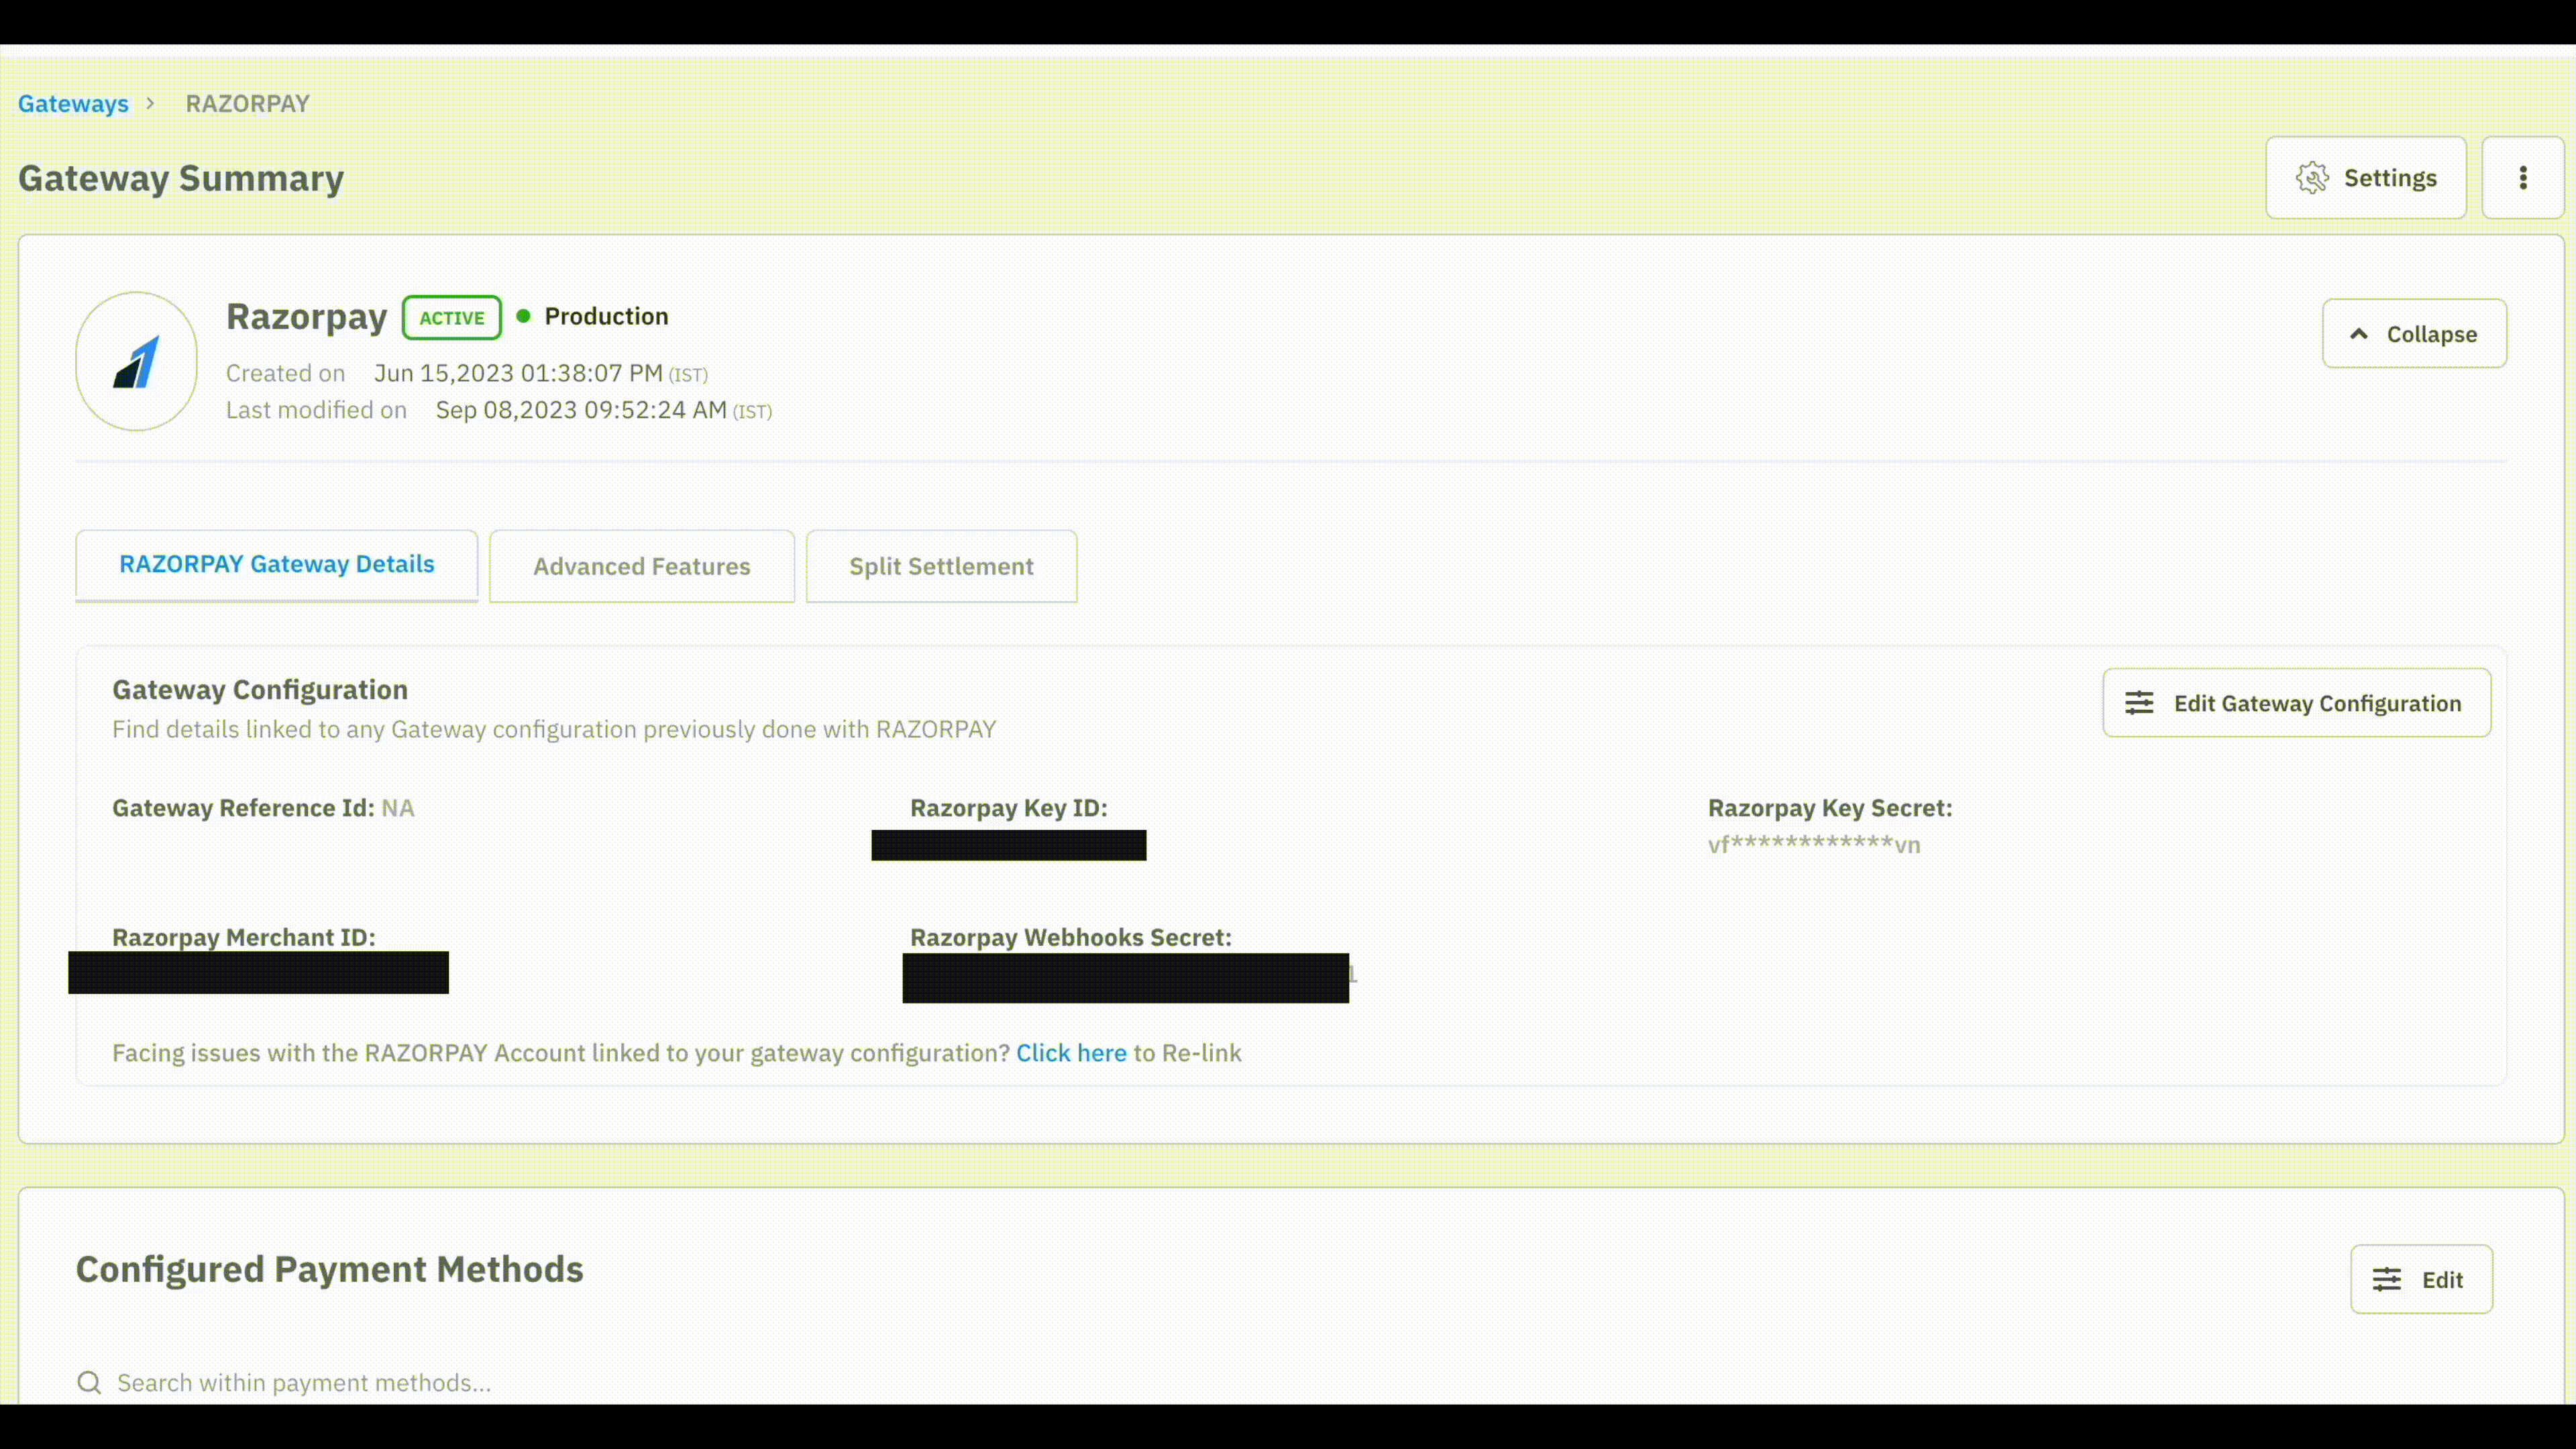
PG Control Centre
Once you pass the value of Gateway Reference ID in the Session API, you will also have to map the same value to the respective PG configuration in PG Control Centre![]() (within Juspay Dashboard) as well.
(within Juspay Dashboard) as well.
Navigate to PG Control Centre Module under EC Operations. There could be 2 possible cases:
New PG Configuration
If you are configuring the New PG, follow the below Steps.
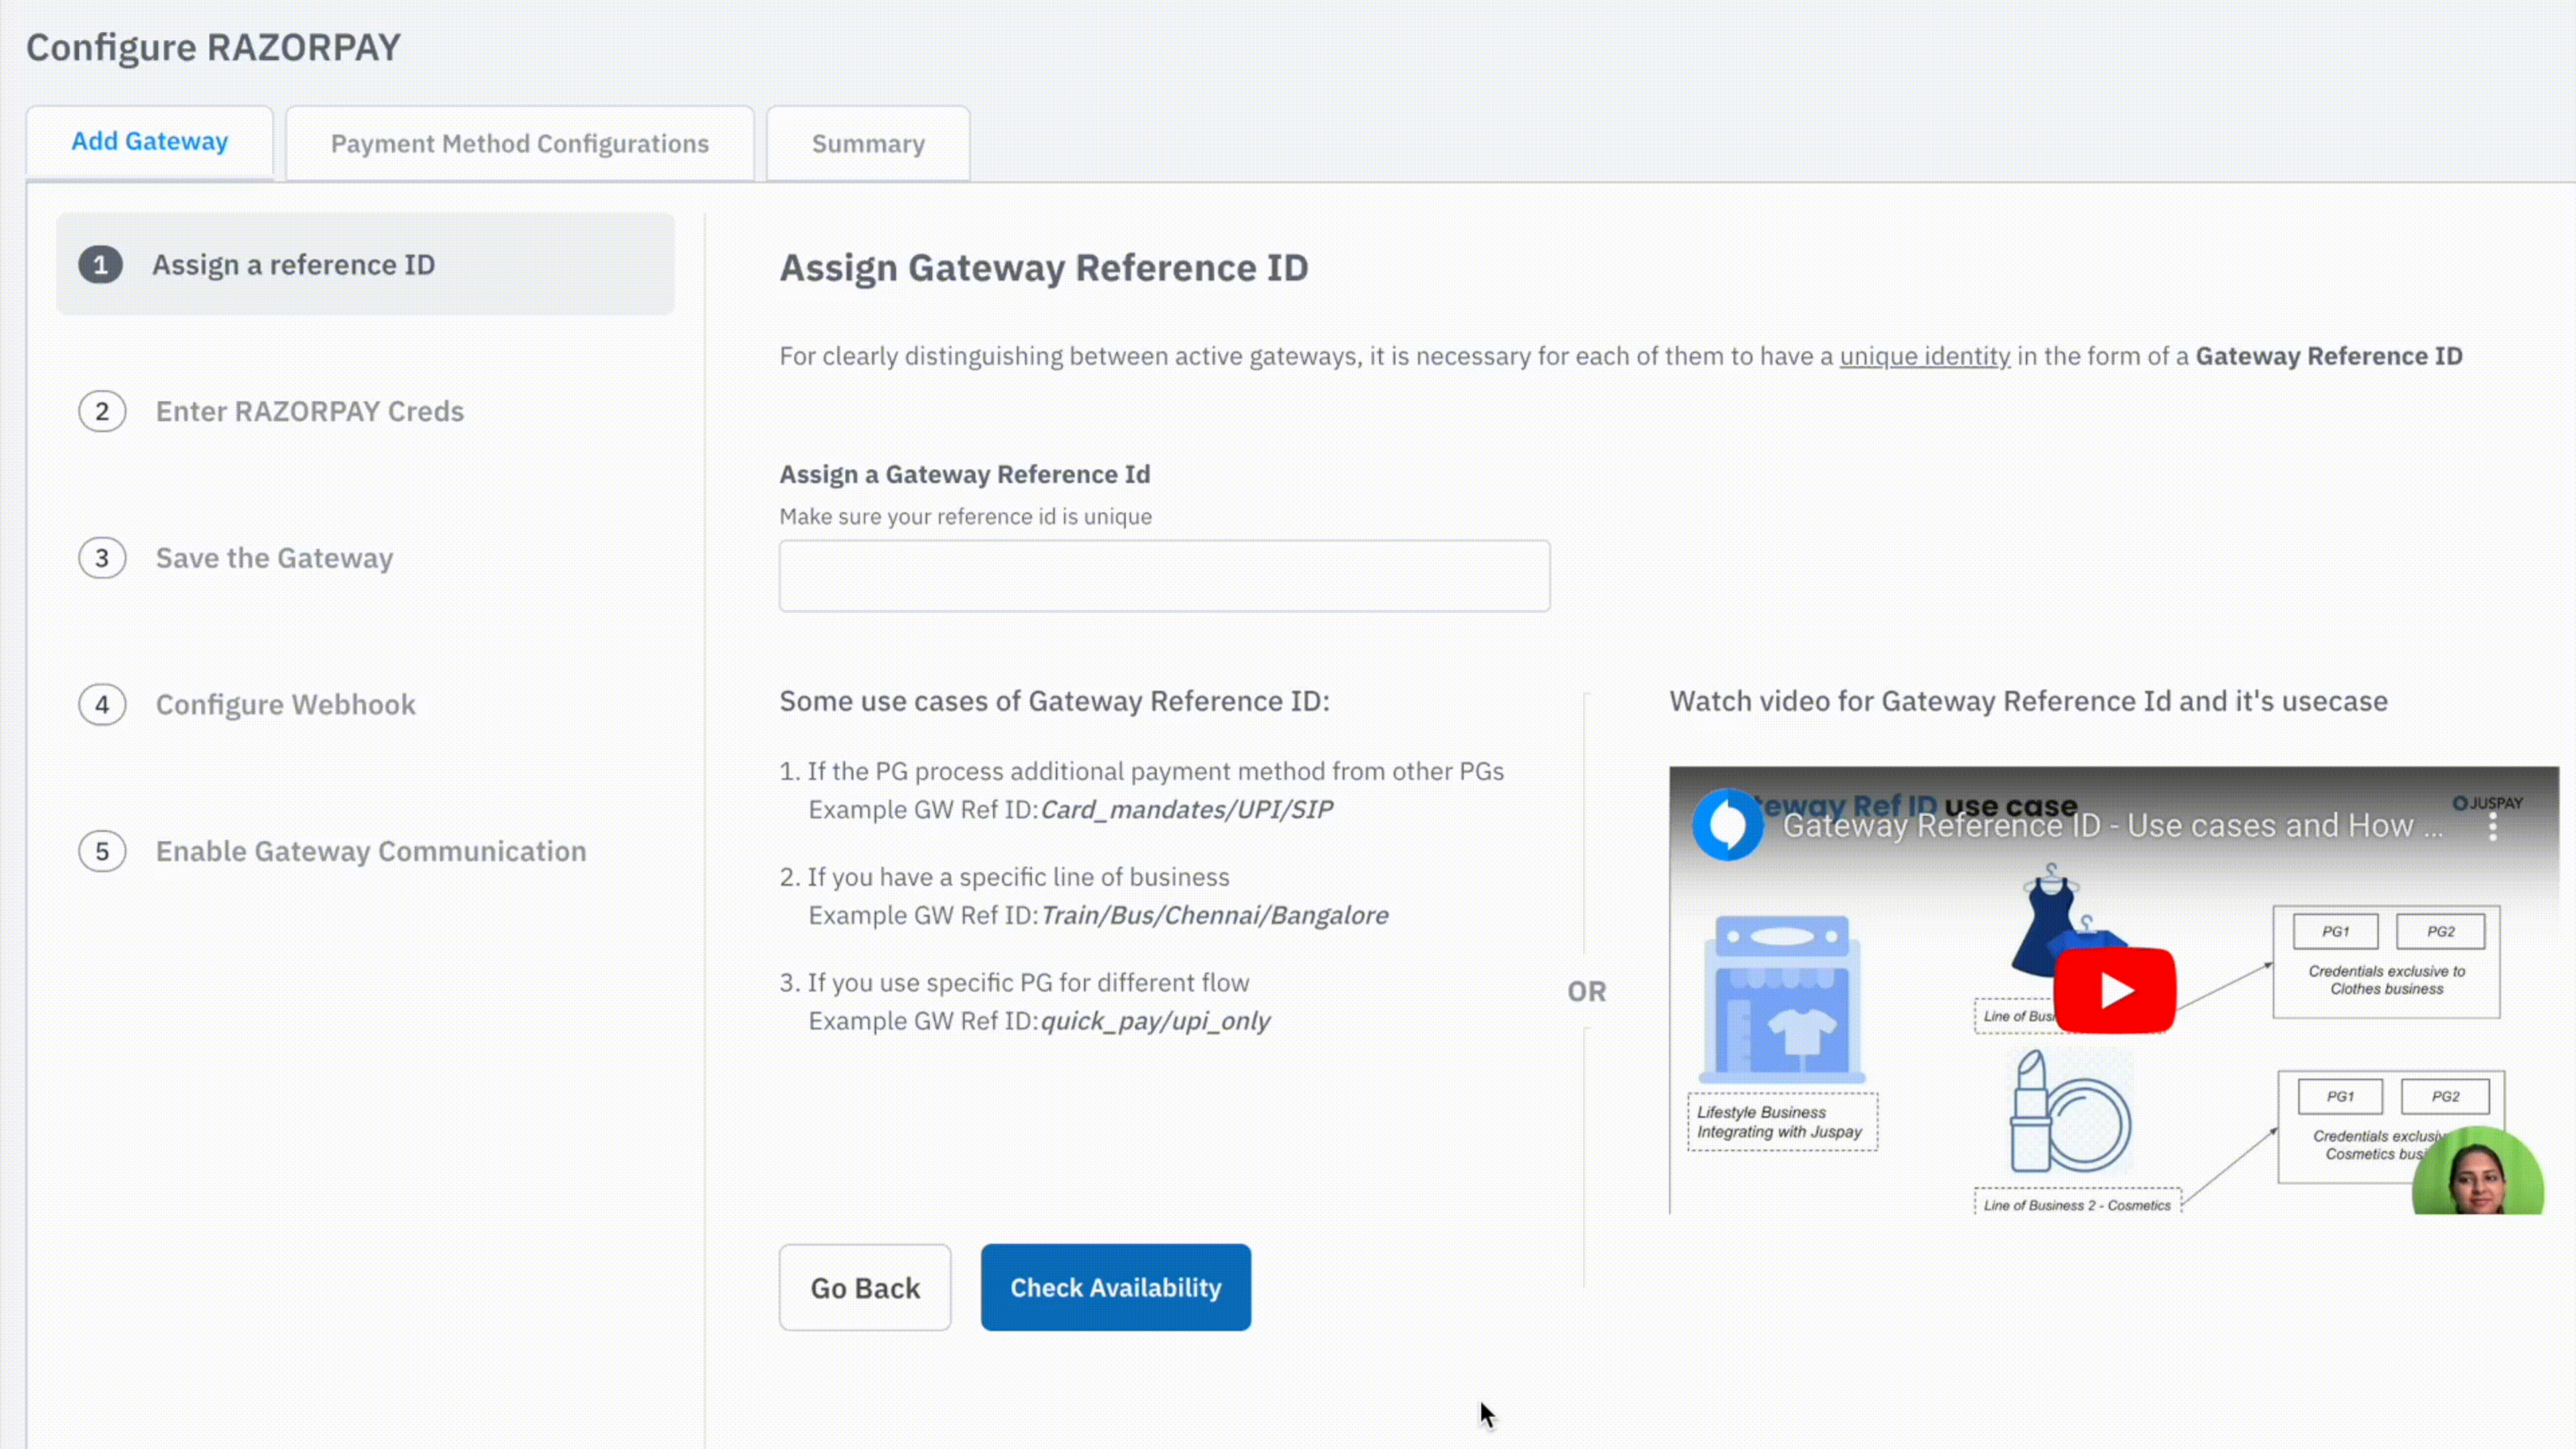
Step 1: Choose the PG to be configured and start configuring.
Step 2: Assign the value of Reference ID in the field provided.
Step 3: Click on Check Availability.
Step 4: Click on Proceed.
Step 5: Gateway Reference ID has now been configured. Complete rest of the PG configuration steps.
If the value configured is not available, an error will be thrown which means same PG is already configured having the same Reference ID. You can decide to either go for a different value in the current configuration or Delete/Disable the old PG.
Existing PG Configuration
If the PG is already configured, we need to edit the PG configuration. Follow the below Steps.
Step 1: Navigate to PG Control Centre Module under EC Operations. If you have already configured the PG for which Reference ID has to be added, go to the PG and Click on Edit Configuration.
Step 2: Click on Edit button to edit the value.
Step 3: Click on Check Availability.
Step 4: Click on Proceed.
Step 5: Gateway Reference ID has now been configured. Complete rest of the PG configuration steps.
If the value configured is not available, an error will be thrown which means same PG is already configured having the same Reference ID. You can decide to either go for a different value in the current configuration or Delete/Disable the old PG.